
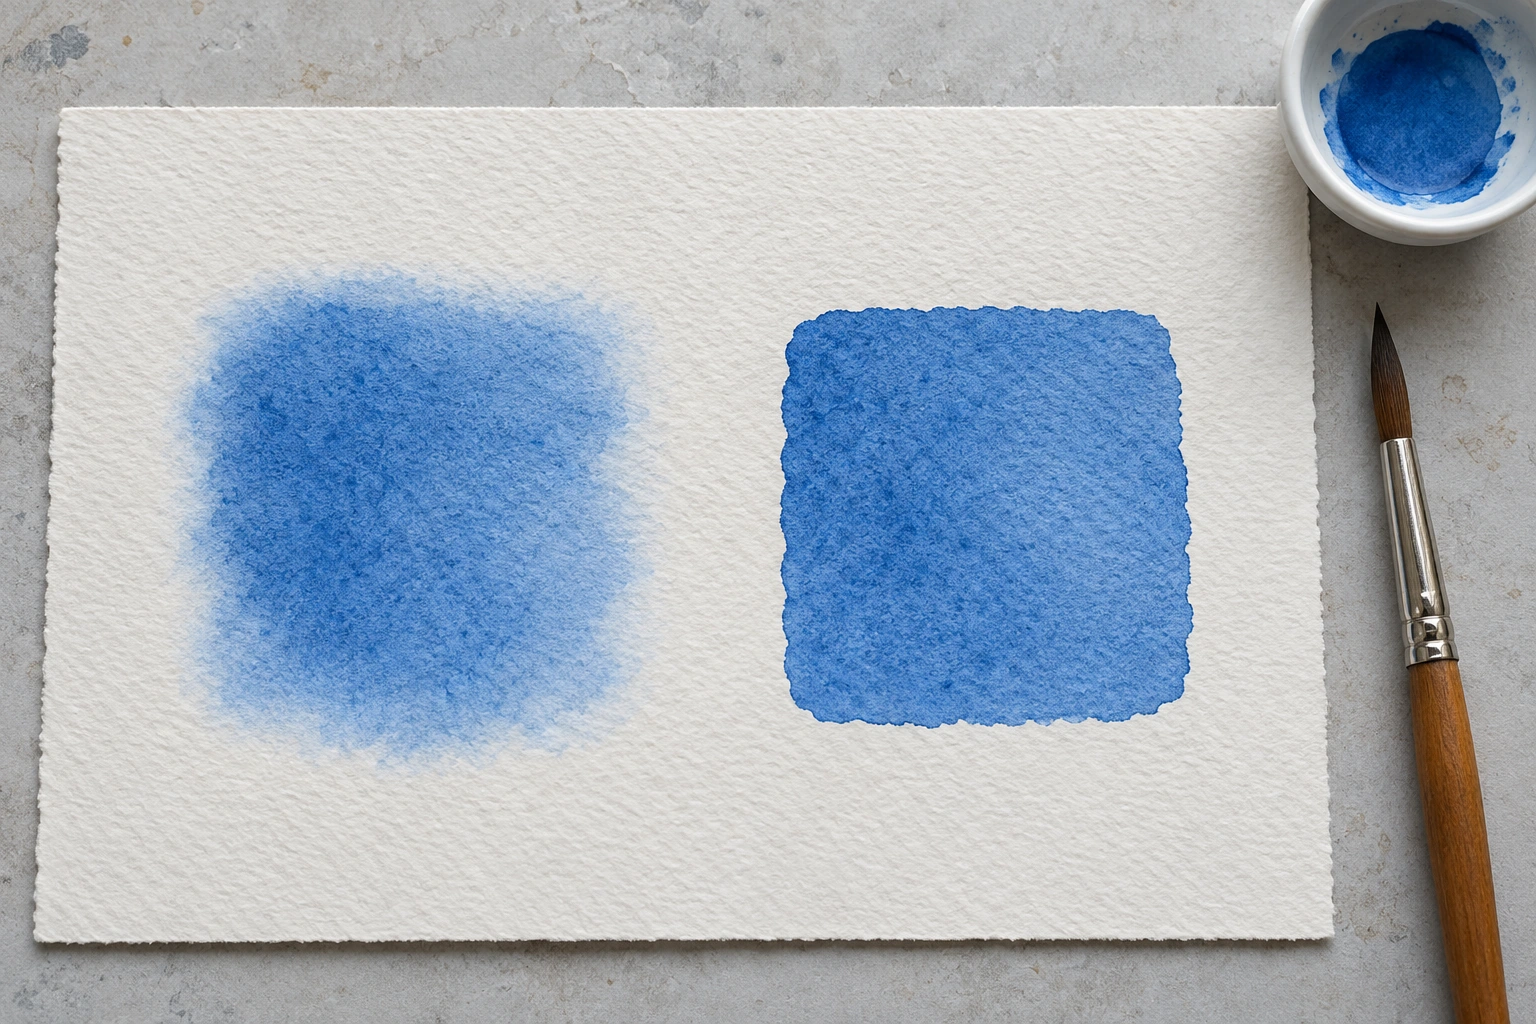
Wet-on-wet and wet-on-dry watercolour differ in the surface condition when colour is applied. Wet-on-wet places colour on a surface that is still wet. Wet-on-dry applies it to a dry surface. That difference can affect how colour spreads and how its edges appear.
To explore it, make two small areas using the same pigment, paper and brush. Compare them after drying rather than only while the paint is shiny. A controlled comparison helps explain edge choices without requiring a complete painting at the outset.
Prepare two comparable areas
Use paper suitable for watercolour and divide it into similarly sized spaces. Label them wet and dry outside the painting area. Prepare one pigment mixture so a colour change does not hide the effect of paper condition.
Use the same brush and keep stroke length and movement comparable. Do not change pigment, brush size and paper texture together. When several elements change, it becomes difficult to identify the cause of the difference.
Canson’s basic watercolour concepts discuss colour working on different paper conditions. Use that principle as a starting point, then observe the actual materials available. Different paper and mixtures do not necessarily produce results identical to another demonstration.
Distinguish paper conditions before the stroke
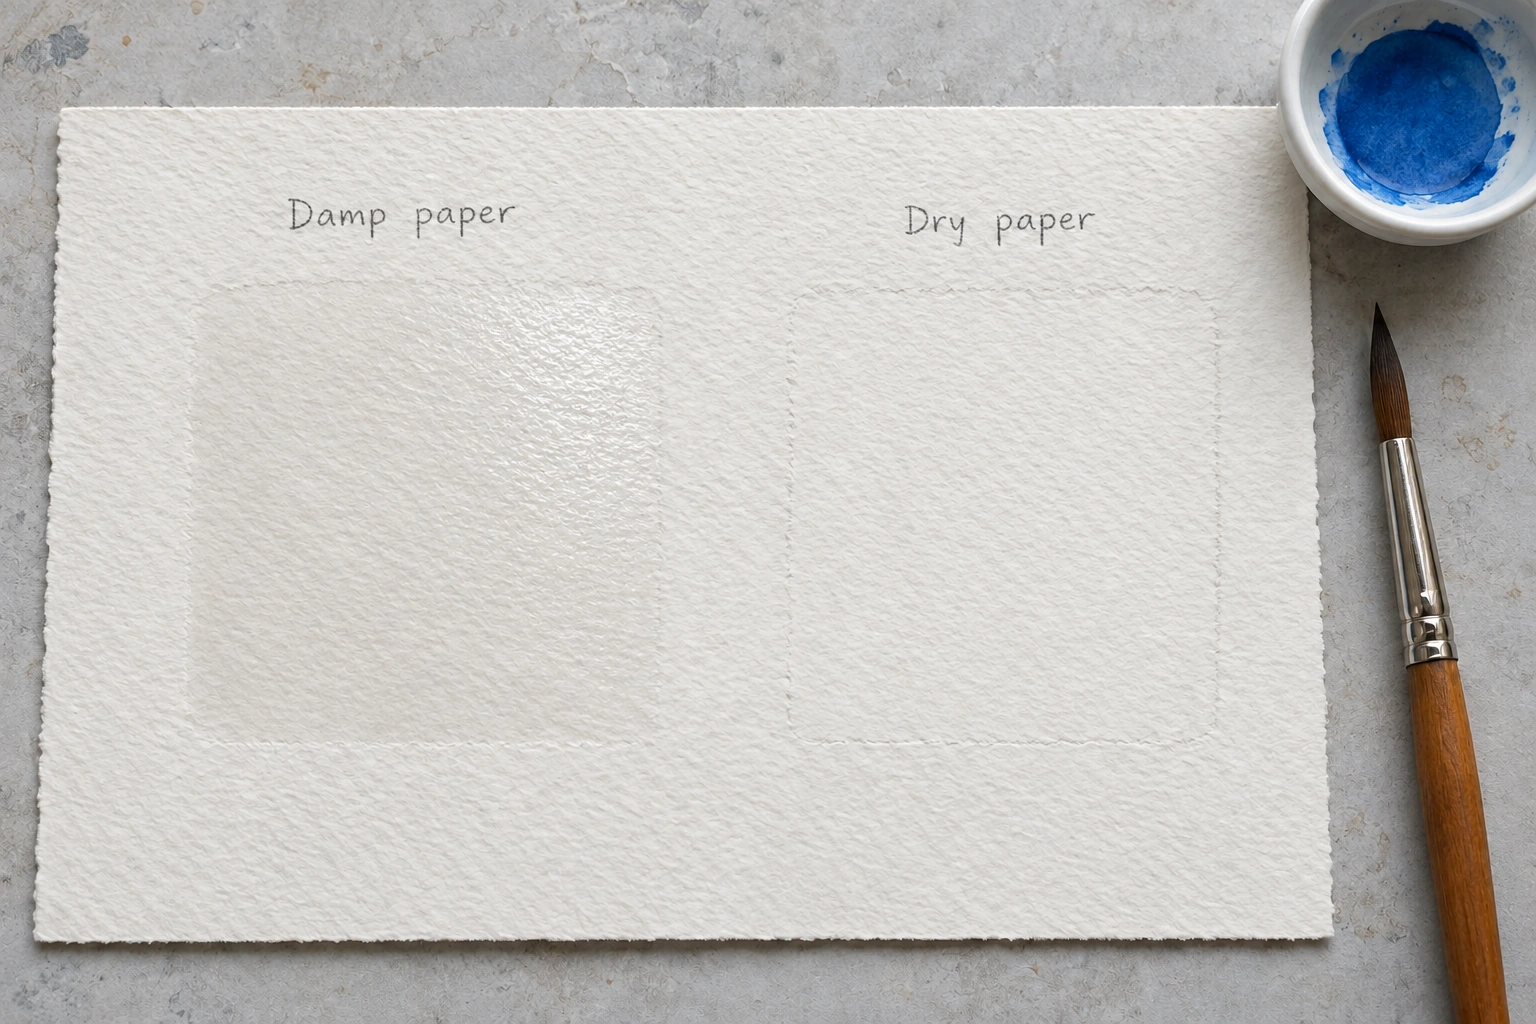
Moisten one area with clean water appropriate to the paper. For this exercise, aim for an evenly damp surface without large puddles. Keep the comparison area dry. Observe the surface sheen rather than judging its starting condition only by touch.
Take the prepared colour mixture and make one stroke in each area. Keep the movements comparable and avoid repeatedly working only one side. The aim is to compare paper condition, rather than one stroke against a heavily reworked passage.
Observe what happens just after lifting the brush. On the wet area, colour may spread through the available water. On the dry area, the boundary tends to be more directed. Record what you see before trying to tidy a result that looks irregular.
Let the comparison finish drying
Keep the sheet in a consistent position so changing its tilt does not introduce another variable. Avoid touching or adding water to one area while leaving the other alone. If an accidental change occurs, note it and repeat the test in a fresh space if necessary.
Distinguish a surface that has stopped looking shiny from one ready for final comparison. Drying time depends on materials and surrounding conditions, so a single number of minutes is unnecessary for every exercise.
Canson’s wet-on-wet exercise helps explain water’s role in colour movement. For this comparison, stay with one pigment first. Adding another colour too early can turn the exercise into a different question about mixing.
Compare the edges after drying
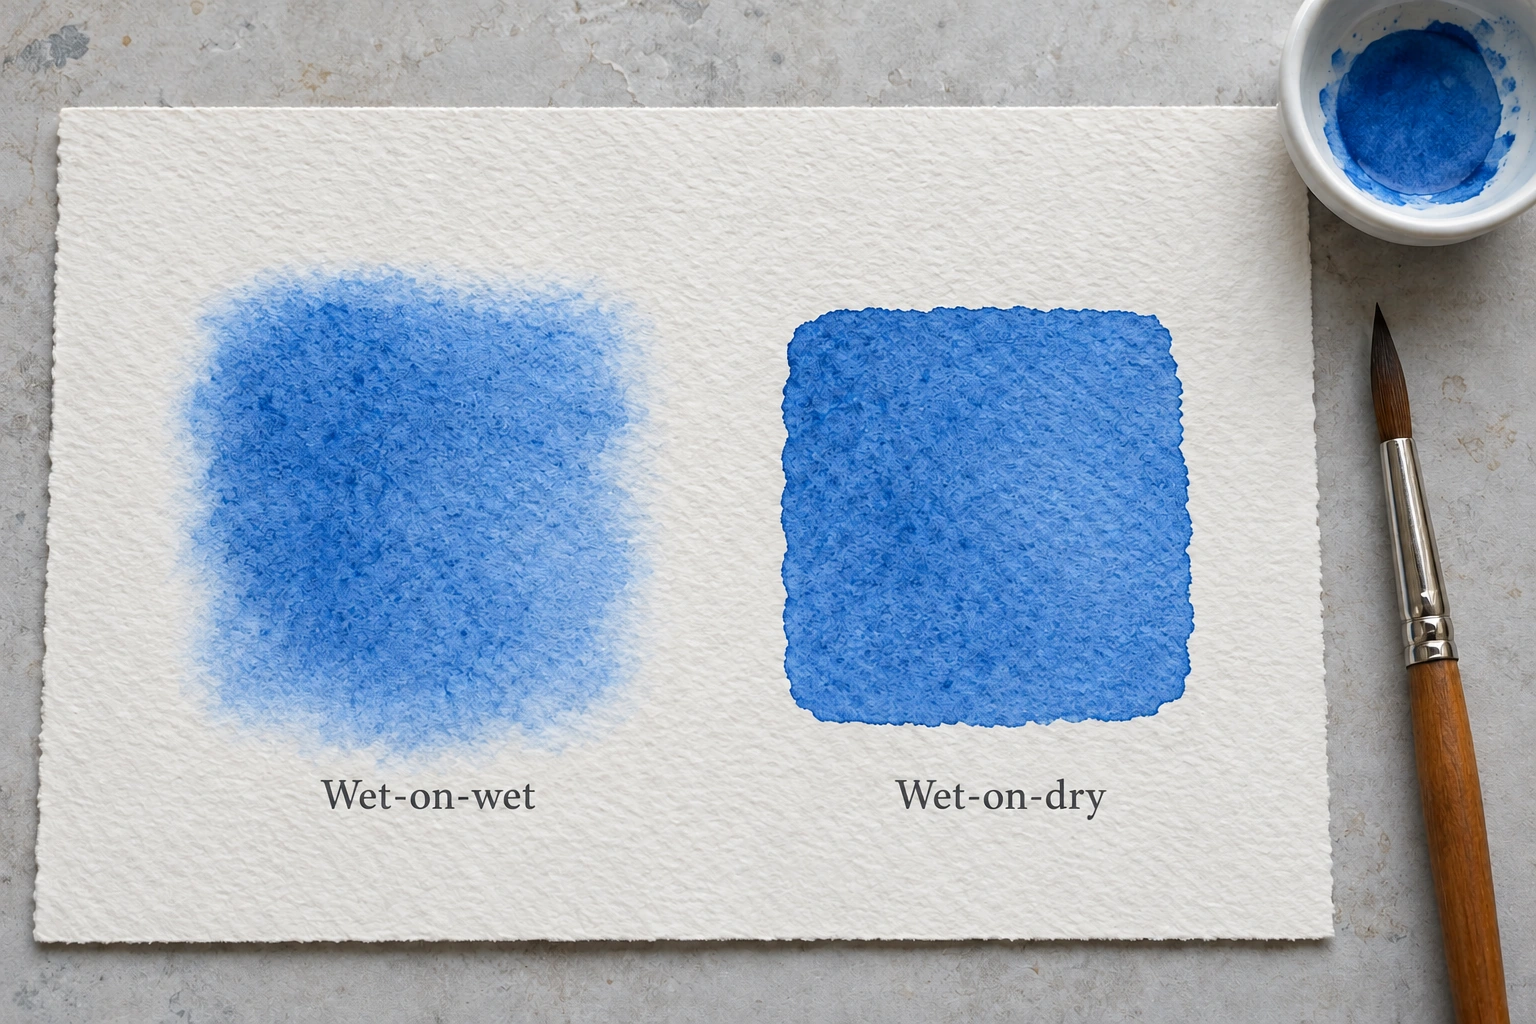
View both areas together. Look for sharp, soft, irregular or pooled boundaries. Do not judge only which one appears darker: the quantities of water and pigment also affect apparent density.
Describe observations by location, such as “the right edge spread further” or “the upper boundary remained clearer”. That language links the result to an action. Calling a test a failure does not explain what to change next time.
If the two outcomes look almost identical, examine the starting conditions. The wet area may have dried too far before painting, or the brush may have carried substantial water to both sides. Choose one possibility to test again rather than adding repeated strokes to force a difference.
Choose edges around the image’s purpose
A softer edge can help colours feel connected. A clearer edge can define a particular shape. These are visual choices, not a hierarchy from beginner to advanced technique.
Try a simple leaf or sky area after understanding the basic comparison. Decide which part should feel soft and which needs a readable boundary. A whole painting does not have to use only one technique.
Before adding a stroke over an existing layer, notice whether that layer is still wet or already dry. Its condition affects the response again. Separate a deliberate layering decision from repeatedly correcting an area without a clear purpose.
Keep the result as an experiment reference
Note the paper, pigment and main observations beside the areas. When repeating the exercise, change one element, such as dampness, while retaining the others. A small, readable comparison is more useful than numerous trials with no record of their conditions.
Continue with colour-mixing practice when you want to explore relationships between pigments. That is a different question from the effect of wet and dry surfaces, so separating the exercises makes each result easier to understand.
Visit Zumen for the context of available learning activities. During independent practice, concentrate on the relationship between water, action and the resulting edge. Those observations turn technique into a choice that can be repeated rather than an effect that only happens by chance.