
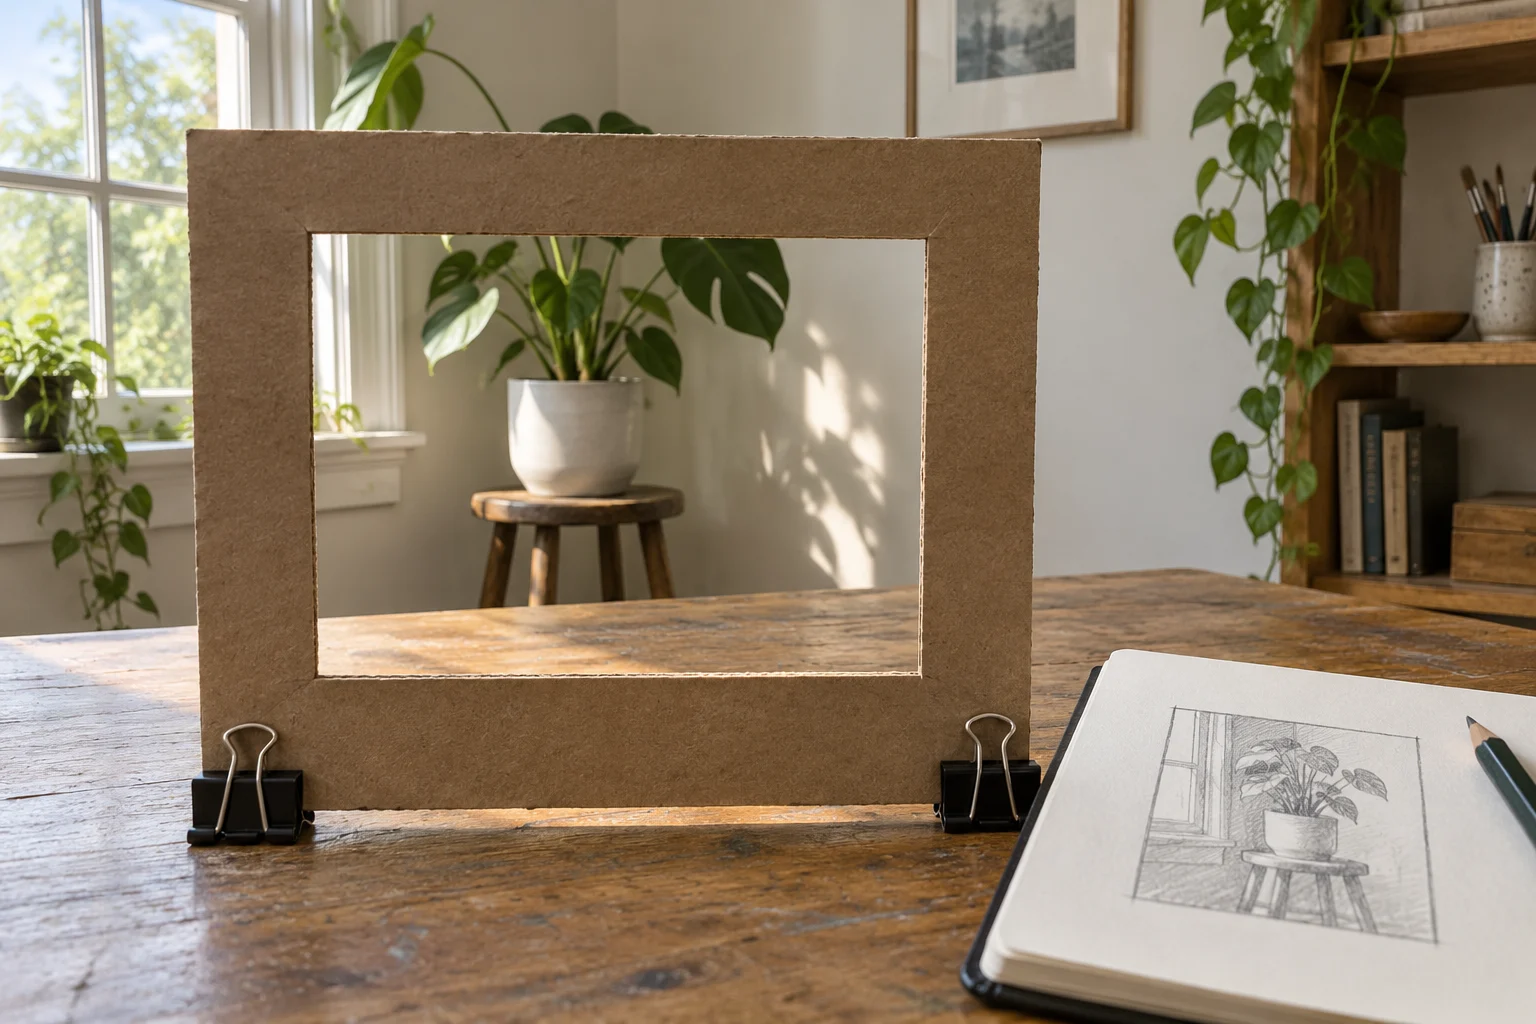
A room corner can feel too busy when every object seems to belong in a drawing. A simple viewfinder helps students choose which part to observe. The cardboard frame does not determine a correct picture; it provides a boundary for comparing several composition choices.
This exercise can use objects on a table or a room corner visible from a seated position. Choose subjects that can be observed without moving to an unsafe place.
Prepare the frame before the exercise
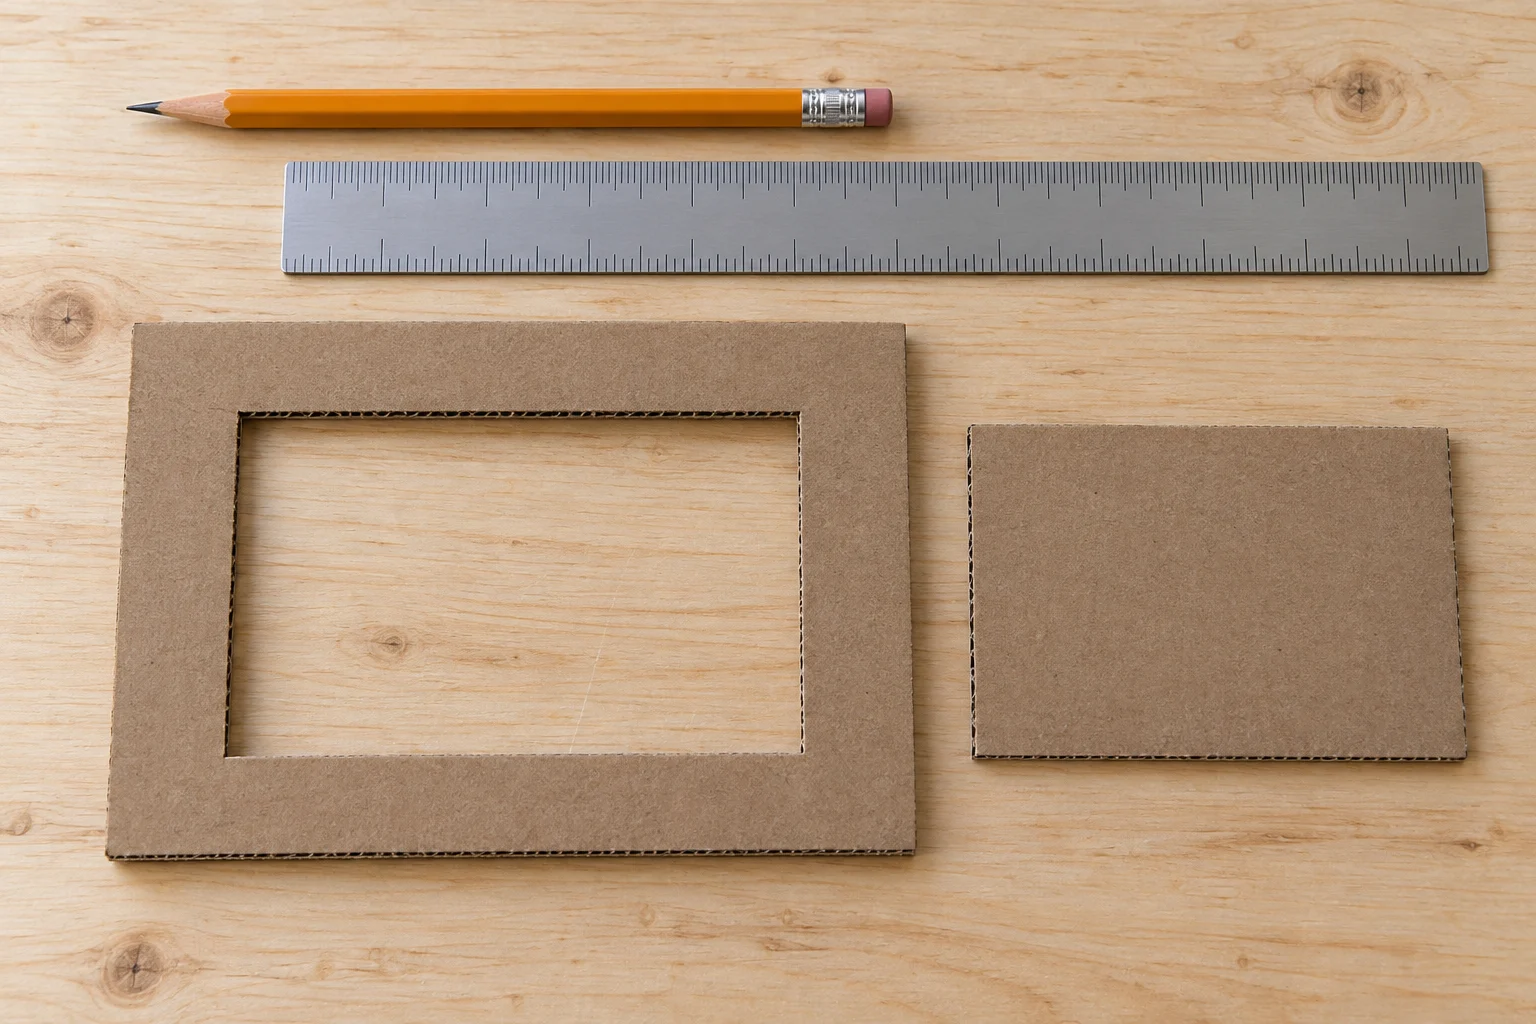
A mentor or accompanying adult can prepare cardboard with a rectangular opening. It needs no special dimensions, just a comfortable grip and tidy edges. For students who need assistance, cutting should be completed safely by someone able to use the tool before the session begins.
Provide paper or a sketchbook and the pencils normally used. Choose a drawing area with a similar proportion to the frame so transferring shapes is less confusing. If the proportions differ, explain that the drawing boundary is another choice students can explore.
Compare three scene crops
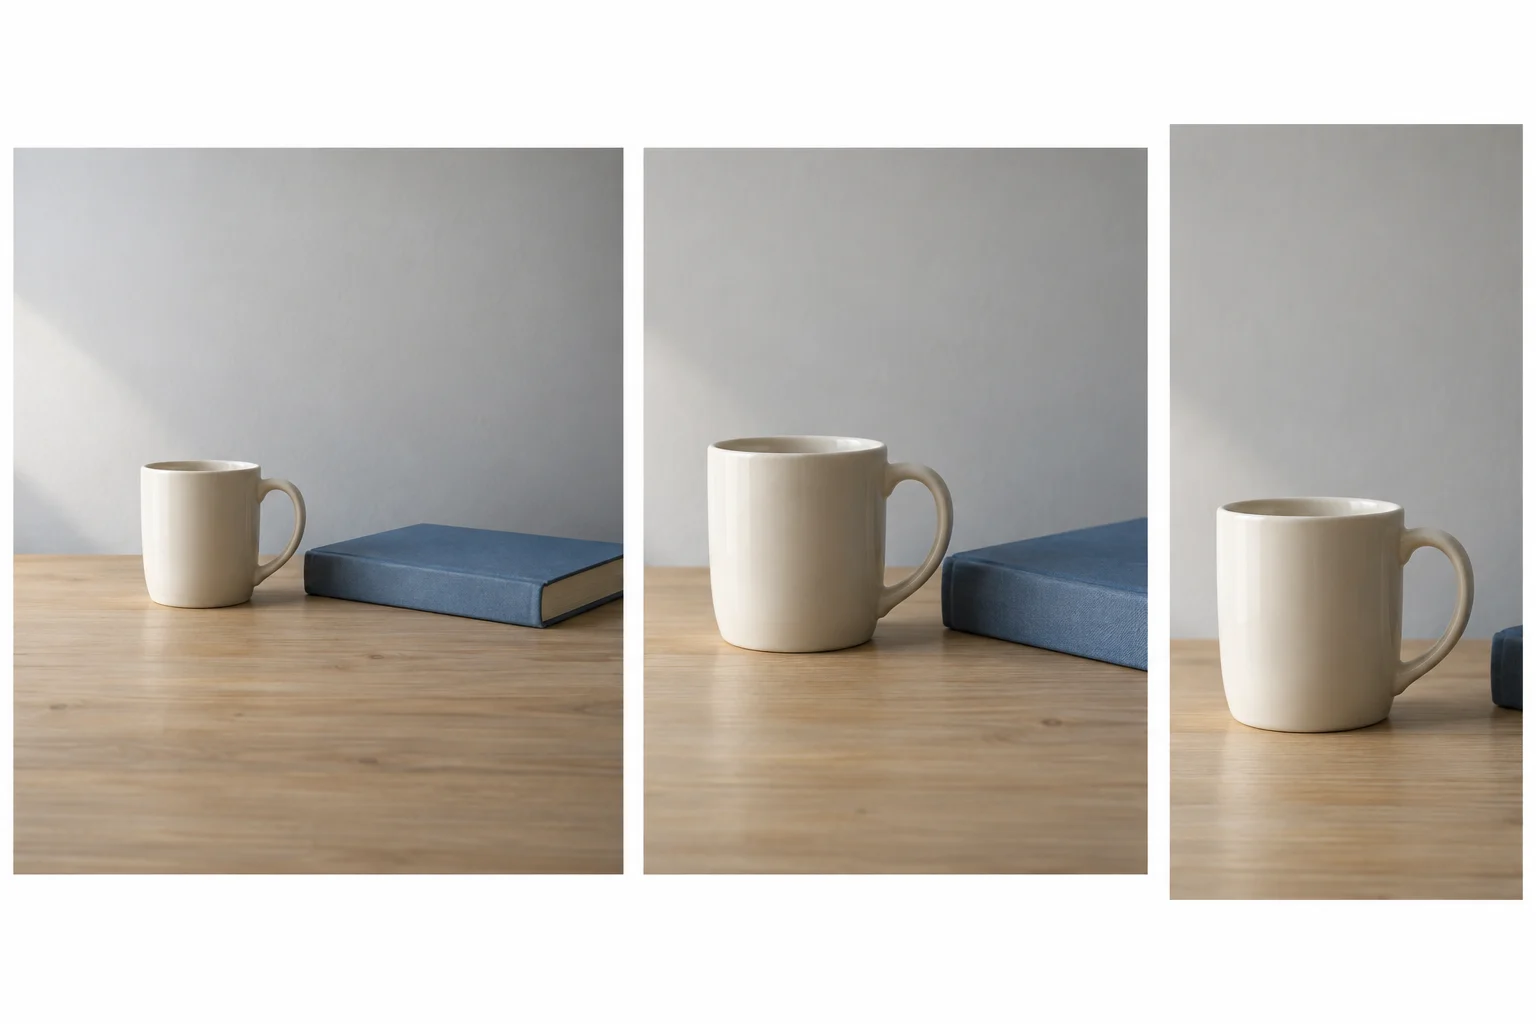
Stay seated in one position and point the frame at the chosen corner. Try a horizontal frame, a vertical frame or a small shift. Notice which objects enter the view, which parts are cropped and the empty spaces between shapes.
Make three small thumbnail notes using boxes and simple lines. They only need to show the placement of major shapes. There is no need to add texture or finish one picture before trying the next crop. This round is about recognizing different framing decisions.
A mentor might ask, “What do you notice first in this crop?” or “Which part would you like to leave outside the drawing?” Such questions help students explain their choices without searching for an answer considered the best.
Choose one arrangement to draw
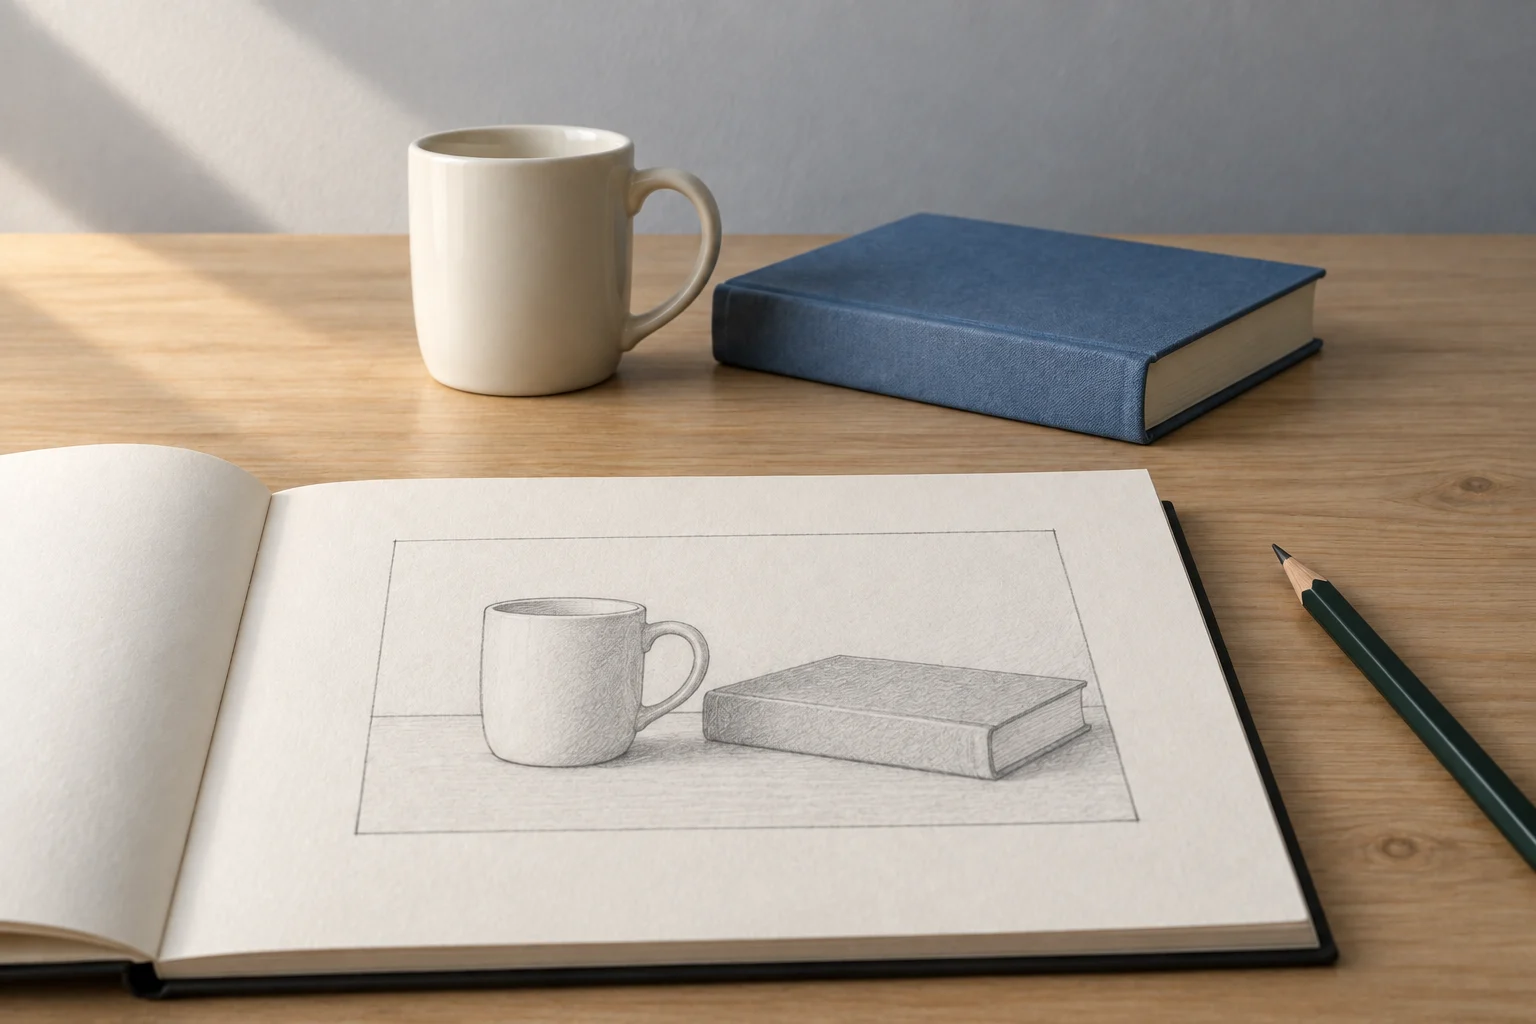
Select the crop that interests the student most and note the frame position as a reference. Try to maintain the same seat and viewing direction during the drawing round. If they change, students can record that the visible crop changes too.
Start with two or three large shapes. Compare their distances from the drawing edges before adding details. When an object is cut off by the frame, it can remain cropped in the drawing; students do not have to squeeze the whole object in just because they know its complete shape.
Use empty space as a reference
Look at the gap between two objects or the wall area visible behind them. Empty space can become an observation shape in its own right. Students can compare a gap’s width or line direction to review the arrangement they have drawn.
If the composition still feels crowded, try a simpler crop in a later session. Avoid erasing every experiment that feels less appealing. Early notes help students see how different boundaries produce another arrangement from the same scene.
Try a table with two objects
For an example exercise, place a cup and a book on a stable table. From a seated position, the student tries a horizontal frame containing both, then a vertical frame showing the cup and part of the book. Use two small boxes to record these arrangements. Neither crop is compulsory; the student can explain which relationship between shapes interests them most.
For the horizontal choice, ask about the space between the objects. For the vertical choice, ask which part of the book remains visible and how its cropped edge meets the picture boundary. Questions pointing to real features help students review decisions without requiring complicated composition terms. A mentor can identify a reference point, then let the student draw the line.
Review choices while retaining early attempts
If the arrangement on paper differs from the framed view, compare one part first. For example, inspect the cup’s distance from the left edge before changing the entire drawing. Students can add a note or create another box to try a different arrangement. Keeping the early attempt makes the change visible.
After completing one round, ask what the student wants to retain and change. This might be the frame orientation, empty space or number of included objects. Use that decision to plan another exercise at an appropriate difficulty. The activity becomes a discussion about observation and choices rather than finding one correct frame for every student.
Keep the decision in the sketchbook
Write down the observed objects or room corner, the chosen crop and one thing to try again. Examples include leaving more space above an object or using a vertical frame to examine shape relationships. This note gives the next exercise a starting point.
Difficulty should follow the student’s readiness. A mentor can offer two crops first or divide the task into observation and a simple drawing. Explore Zumenart classes to discuss suitable exercises, then find more observation ideas in the Zumenart blog.