
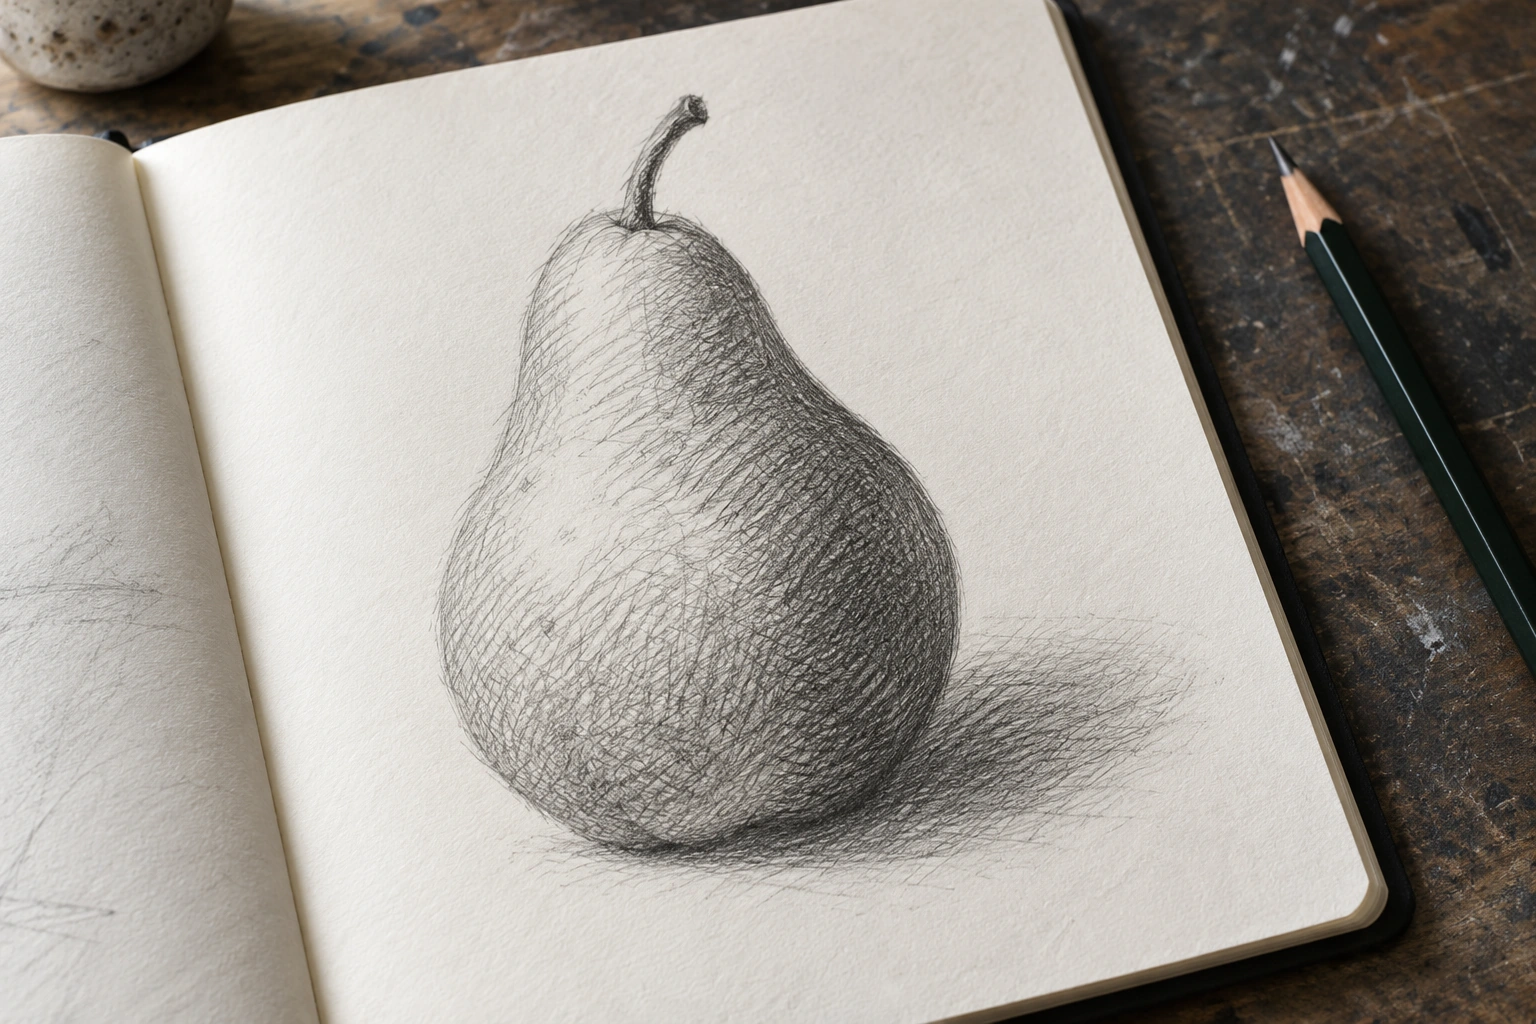
Cross-hatching builds value through overlapping layers of lines. Begin with three clearly distinguishable values: light, middle and dark. Keep pencil pressure relatively gentle, then vary layers and spacing so the surface does not immediately become solid black.
This develops an understanding of value while focusing on visible marks. The aim is not necessarily the smoothest possible surface. Lines can remain visible and help describe an object’s volume, allowing a viewer to understand why the shading sits where it does.
Build three values with layers of lines
Prepare paper, a comfortable pencil and three similarly sized squares. Start with one pencil so a change in graphite grade does not complicate the comparison. Use the same support and enough light to see fine marks.
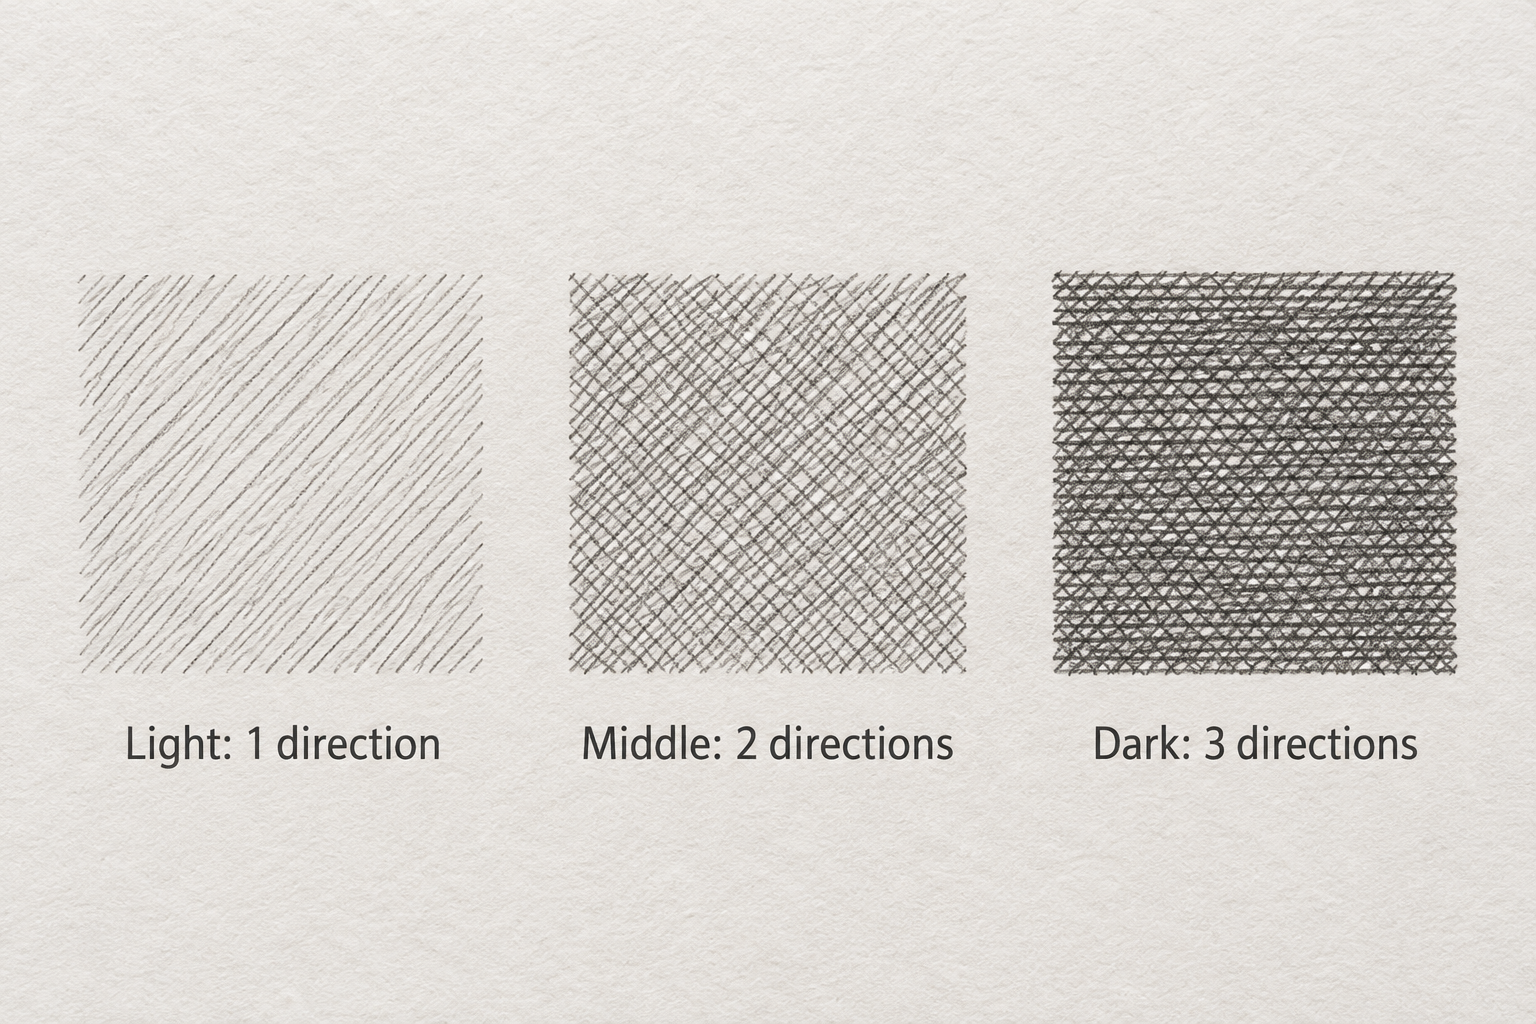
In the first square, draw one direction of lines with generous paper showing between them. In the second, add a direction crossing the first. In the third, increase density or add another direction gradually.
Do not simply press every line harder to darken the result quickly. If the first layer closes the whole surface, later layers have no room to demonstrate a change. Preserve open areas from the beginning.
| Area | Line choice | What to observe |
|---|---|---|
| Light | One direction with open spacing | White paper remains dominant |
| Middle | A second crossing direction | Value darkens without becoming solid |
| Dark | Controlled additional density | Lines remain readable and distinct from the middle area |
The squares need not be perfect. Another person should be able to distinguish their values without labels. If two look alike, change one variable first and compare again.
Choose direction without making a rigid net
Try different crossing angles without assuming one angle suits every drawing. Direction can follow the object or the intention of the image. Slightly curved marks on a rounded surface may help the eye understand volume.
Avoid changing direction every few lines without a reason. Choose a direction for one layer, then assess it before adding another. Consistent movement is easier to compare than marks changing unpredictably from the start.
Practise short and long strokes separately. Find a comfortable movement without using up the main object’s surface. This can reduce the tendency to press harder when the hand becomes uncertain.
Apply the hatching to one form
Choose a simple object such as a pear. Set one light direction and lightly identify its light, middle and dark areas. Do not begin with skin detail or tiny indentations before the larger divisions read clearly.
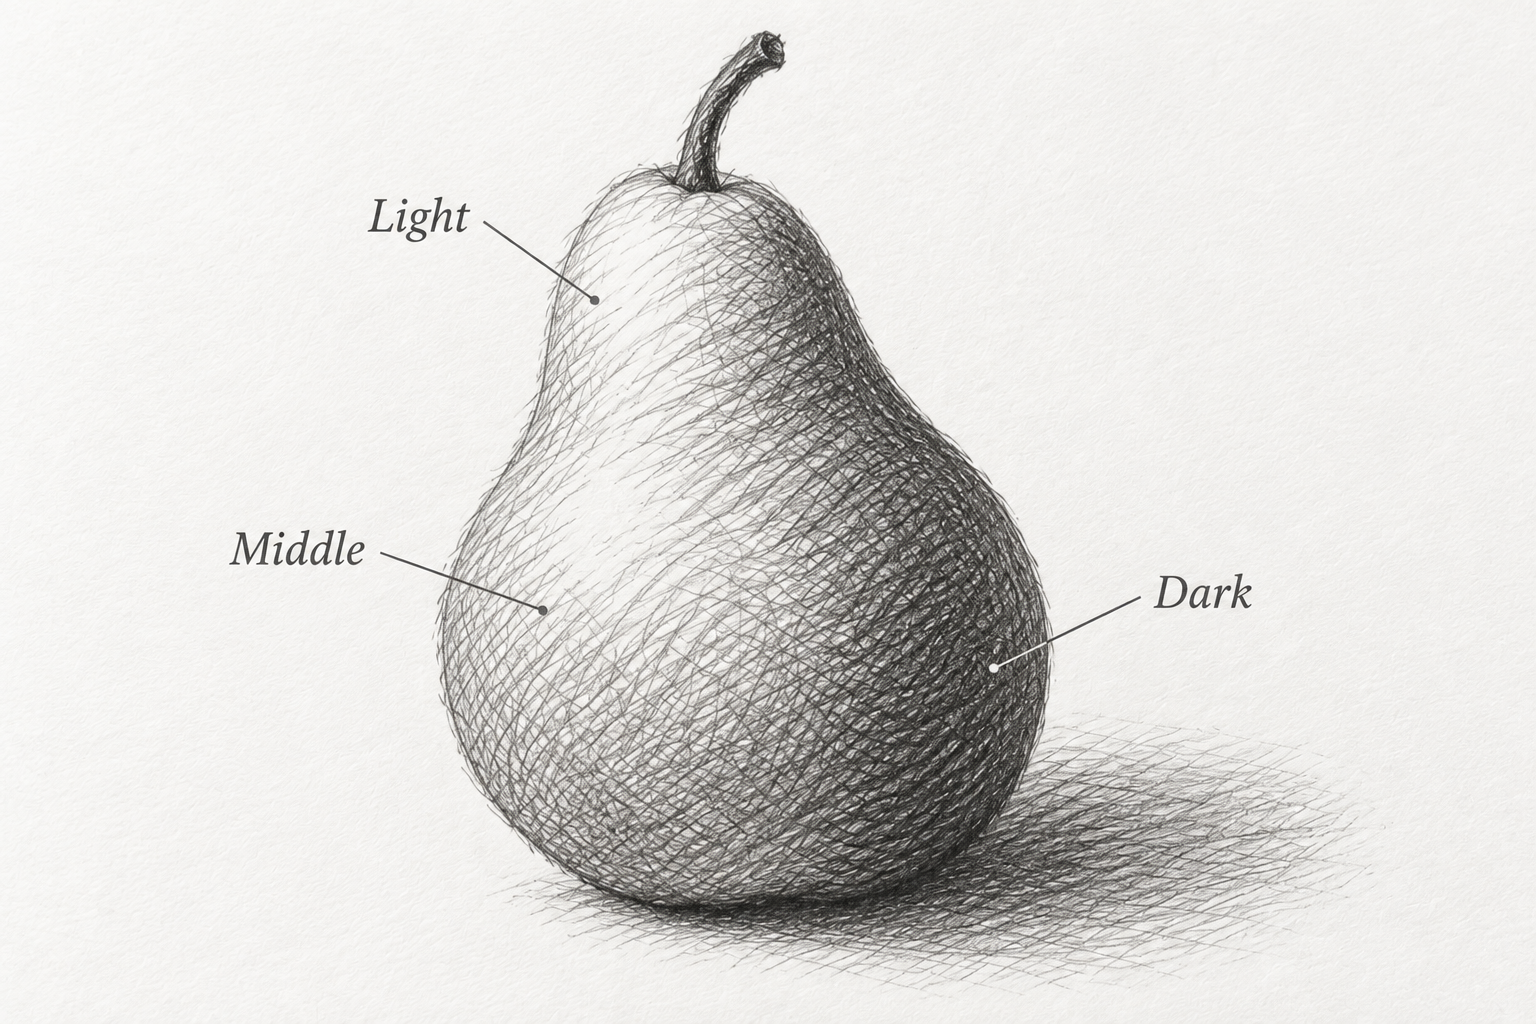
Use the most open layer in the light area, additional crossing in the middle and greatest density in the dark. Marks can curve with the surface. Preserve the lightest area rather than covering it while correcting another part.
Observe from the same position throughout. The National Gallery of Art’s everyday-object lesson provides context for drawing from simple objects. The three-value sequence here is an exercise to try with your own subject.
Look from a distance before adding detail
Move the drawing a little farther away and check whether the form reads. If every part has equal density, more detail may not help. Return to the value grouping and decide which area needs separation.
If the dark region becomes too heavy, do not automatically darken everything else to catch up. Try another sheet with a lighter first layer. Comparing attempts can teach more than repeatedly patching an already crowded surface.
Check light direction as well. A shadow should not migrate simply because line direction changes. Marks build value and surface character; the placement of light and dark still follows the chosen observation.
Keep comparisons that explain the change
Add a short note about the pencil, layers and variable changed. The second attempt might keep pressure constant but use wider spacing in the final layer. The note connects action and result instead of merely identifying a favourite drawing.
For shared practice, ask someone to identify the light, middle and dark squares before reading your notes. If their reading differs, discuss where values merge. Printed-looking uniformity is not necessary.
When comparing attempts, keep the object and light unchanged where possible. Otherwise a different shadow may conceal whether the new line spacing helped. Select a new subject only after the first comparison has answered its question.
Try viewing the result at a smaller size too. If the three areas merge there, return to value separation before adding finer marks. Use that observation for another attempt rather than as a reason to erase every sign of the process. A useful exercise can retain imperfect lines while making the larger relationship clearer.
Read the five-value pencil exercise if value differences remain difficult to see. For learning with Zumen, bring attempts showing the process. Cross-hatching develops through deliberate layers rather than pressure alone.