
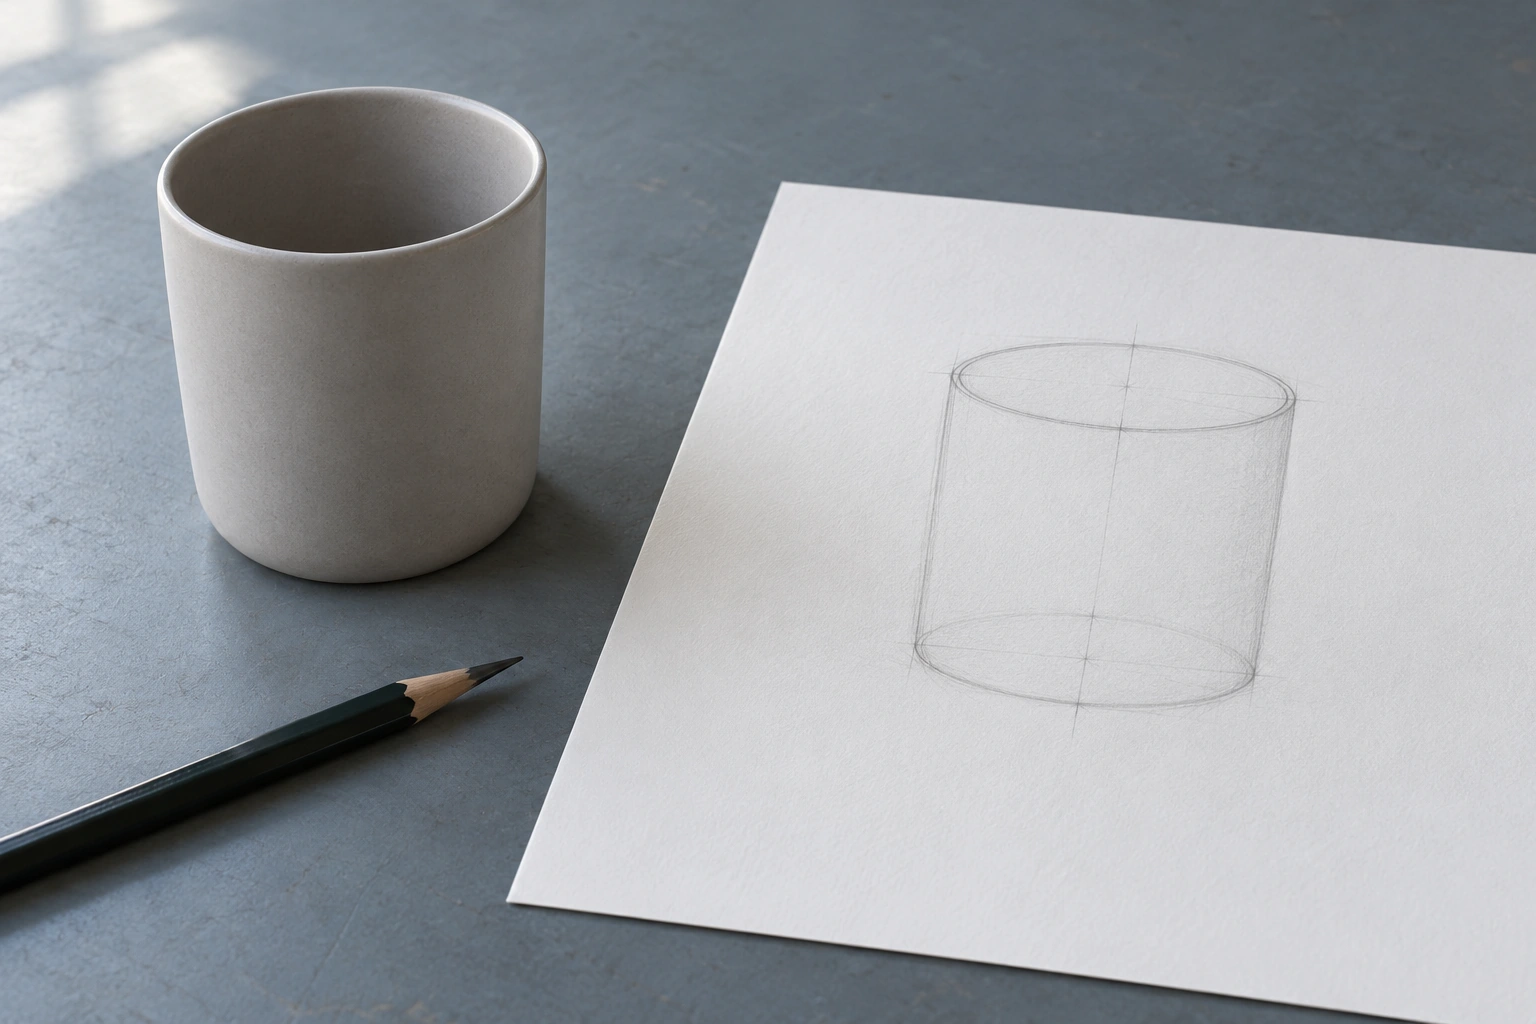
Drawing a cylinder begins with the relationship between ellipses, axes and side edges. Seen from slightly above, the circular rim of a straight-sided cup appears elliptical, rather than flat or pointed like an eye. Check that framework before adding rim thickness and shading.
Choose a plain cup without a complicated pattern. Keep it still and establish your viewing position. The exercise is easier to understand when neither the object nor the viewpoint moves while comparing its upper and lower parts.
Construct ellipses around their axes
Draw a light centre line to help position the form. Mark the upper ellipse’s width and openness, then build a smooth curve around it. The axis is a guide, not a heavy line that must remain in the finished drawing.
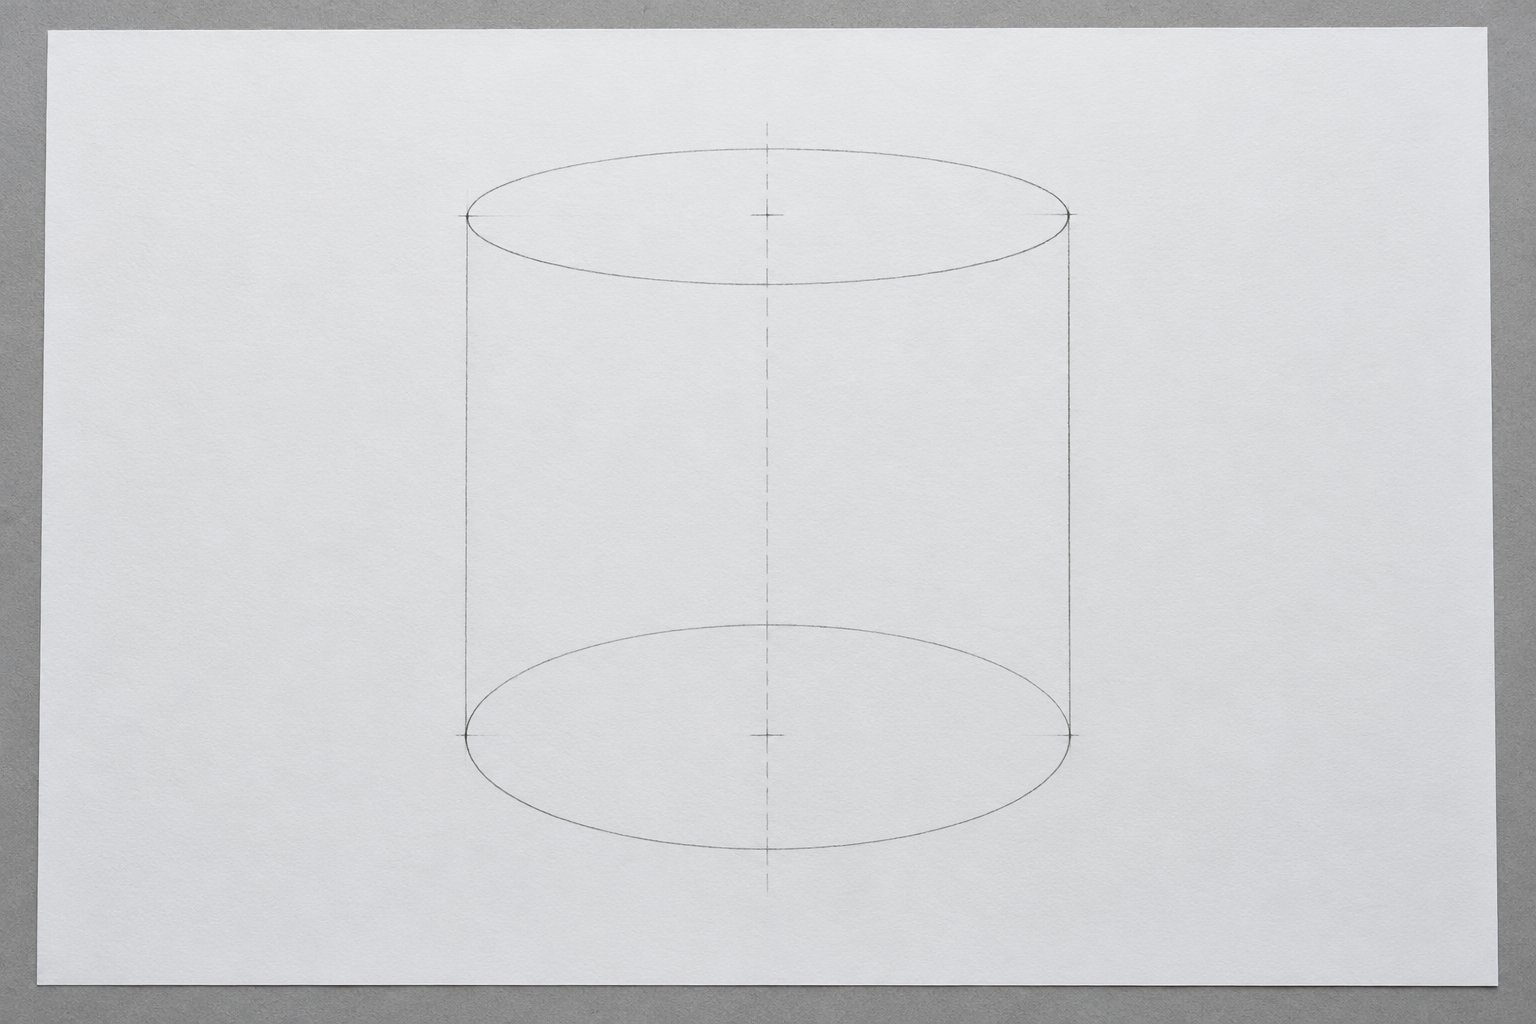
Avoid sharp, pointed ends. An ellipse continues curving at both sides. Rehearse the movement above the paper before making a light mark, then select the line that best fits the intended relationship.
Place the lower ellipse according to observation and perspective. For a cup below eye level, an ellipse farther from that eye level may appear more open. Do not automatically copy the upper ellipse to the base without considering position.
BYU–Idaho’s cylinder lesson demonstrates connections between ellipses, axes and depth. Use the principle to read the form rather than force every cup into the example’s proportions.
Connect the construction into a cup
Lightly connect ellipse edges with the sides of the form. Check that the transition feels smooth rather than like a sharp corner attached to an oval. Side direction follows the object and perspective; do not force parallel lines when observation indicates otherwise.
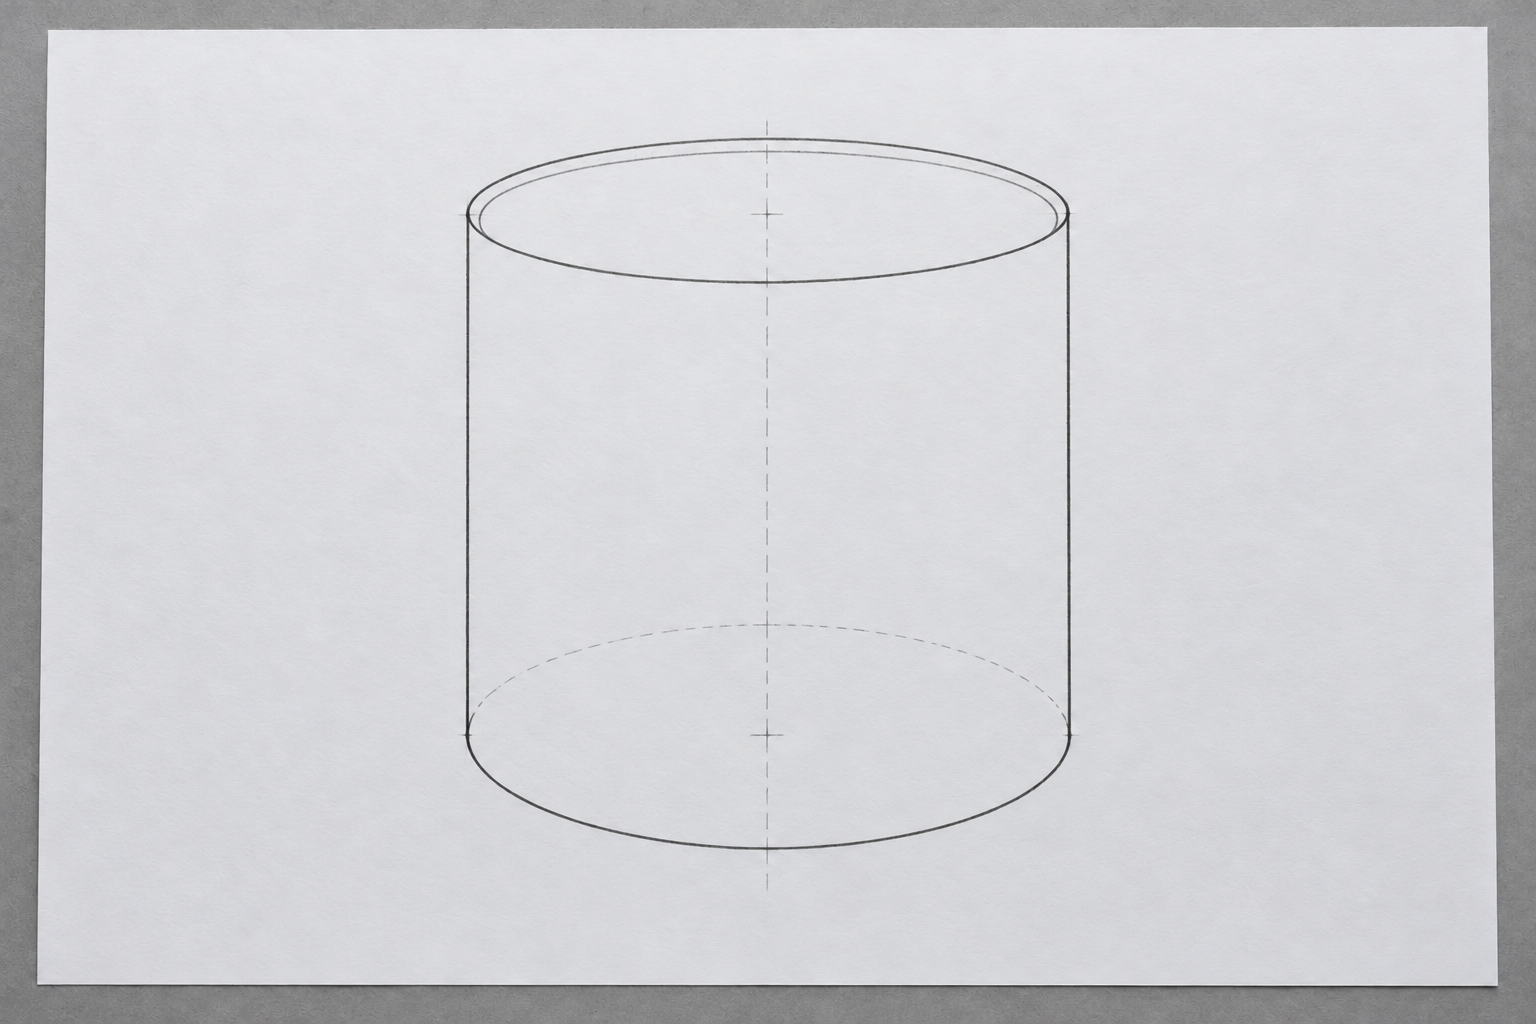
Draw the complete lower construction lightly to check it, then distinguish the edge actually visible. A rear base arc hidden by the cup’s body should not necessarily be strengthened like its front edge.
Add rim thickness after checking the framework. It needs to follow the same elliptical relationship plausibly. Extra lines should not turn the rim into several ovals whose centres drift apart.
Check one relationship at a time
| Relationship | Question while looking |
|---|---|
| Centre | Are ellipses placed on the appropriate axis? |
| Width | Do left and right sides match the observation? |
| Openness | Does each ellipse fit its position relative to eye level? |
| Side connection | Does the edge meet the curve smoothly? |
| Visibility | Are visible edges distinguished from construction? |
| Proportion | Does height compared with width still resemble the object? |
Choose one problem first. If the lower ellipse is off-axis, adjust its position before adding shadow. Changing every line together makes it difficult to understand which change helped.
Try covering a part with clean paper to inspect the larger relationship. Small details can persuade the eye to accept a form that is not yet convincing. Uncover the drawing afterwards and check continuity.
Use observation to test the framework
Look without moving your head far from the chosen position. Compare rim width with body height and notice how much of the interior is visible. Those observations are more useful than memorising one ellipse shape.
If you want another angle, make a second drawing. Avoid changing eye position halfway through one image and mixing two observations. Separate attempts show how ellipse openness changes with viewpoint.
A tapered cup is not a perfect straight cylinder. After understanding the base form, observe departures deliberately. The framework helps identify differences rather than erase them until every object becomes the same tube.
Add value after the form reads
Choose one light direction and start with broad areas. Keep construction light or remove it as needed without damaging the surface. Shadows can support volume but do not repair a misplaced ellipse.
Retain the first attempt and a later one with a short note. You may have centred the lower ellipse or softened pointed oval ends. Compare decisions rather than judging only the tidiness of the final line.
A useful final check is to hide the shading mentally and ask whether the outline still describes a believable cup. If not, return to the relevant relationship on a fresh attempt instead of adding darker marks to distract from it.
On a practice sketch, mark ellipse centres lightly and compare their shared axis. If upper and lower centres drift without an observed reason, investigate before strengthening the outline. Those marks help read construction; they do not need to become decoration in the finished image. Use them as a temporary question about alignment, not as a substitute for looking at the object.
For a wider spatial exercise, see one-point perspective. When learning with Zumen, bring a simple object and sketches showing the framework. Reading ellipses improves through checking relationships before pursuing detail.