
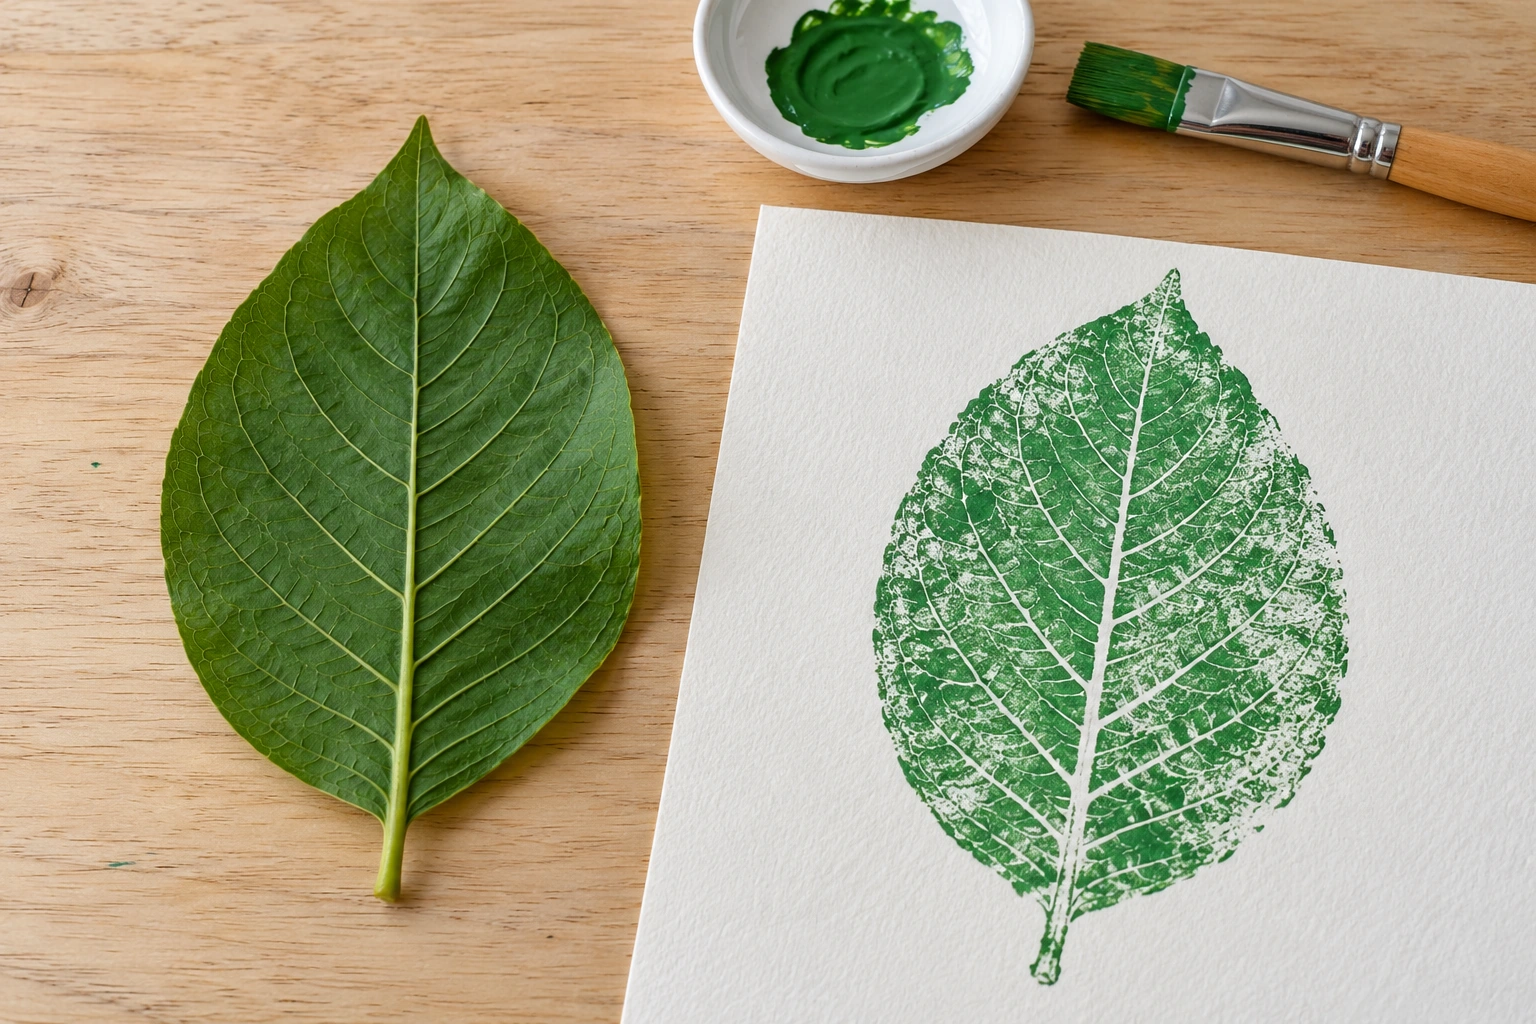
Leaf printing transfers paint from a leaf surface onto paper. Frottage records relief by rubbing pencil or crayon across paper placed over the leaf. Both begin with the same source shape, but the marks they produce need to be observed in different ways.
This exercise compares one painted print with one rubbing from the same leaf. Prepare a leaf with visible veins, suitable water-based paint, a brush, pencil or crayon, and paper. Choose a recognised leaf that you are permitted to collect, and protect the table before beginning.
Observe the surface before adding colour
Look at both sides of the leaf. Notice the outline, main rib, smaller veins and folded areas. Choose the surface to test according to the relief you can see. Not every leaf will produce an equally clear pattern, so this first observation helps explain the results later.
Use a leaf that can lie reasonably flat without being crushed. Remove loose dirt and dry a wet surface before testing paint. Keep the natural materials separate from food and eating utensils; the equipment is being used for an art activity.
Set aside a scrap sheet for trials. Use it to test the amount of paint and pressure before making the main comparison. A first unsuccessful impression then becomes useful process information, rather than a reason to conclude immediately that the technique does not work.
Apply a thin coat and transfer without sliding
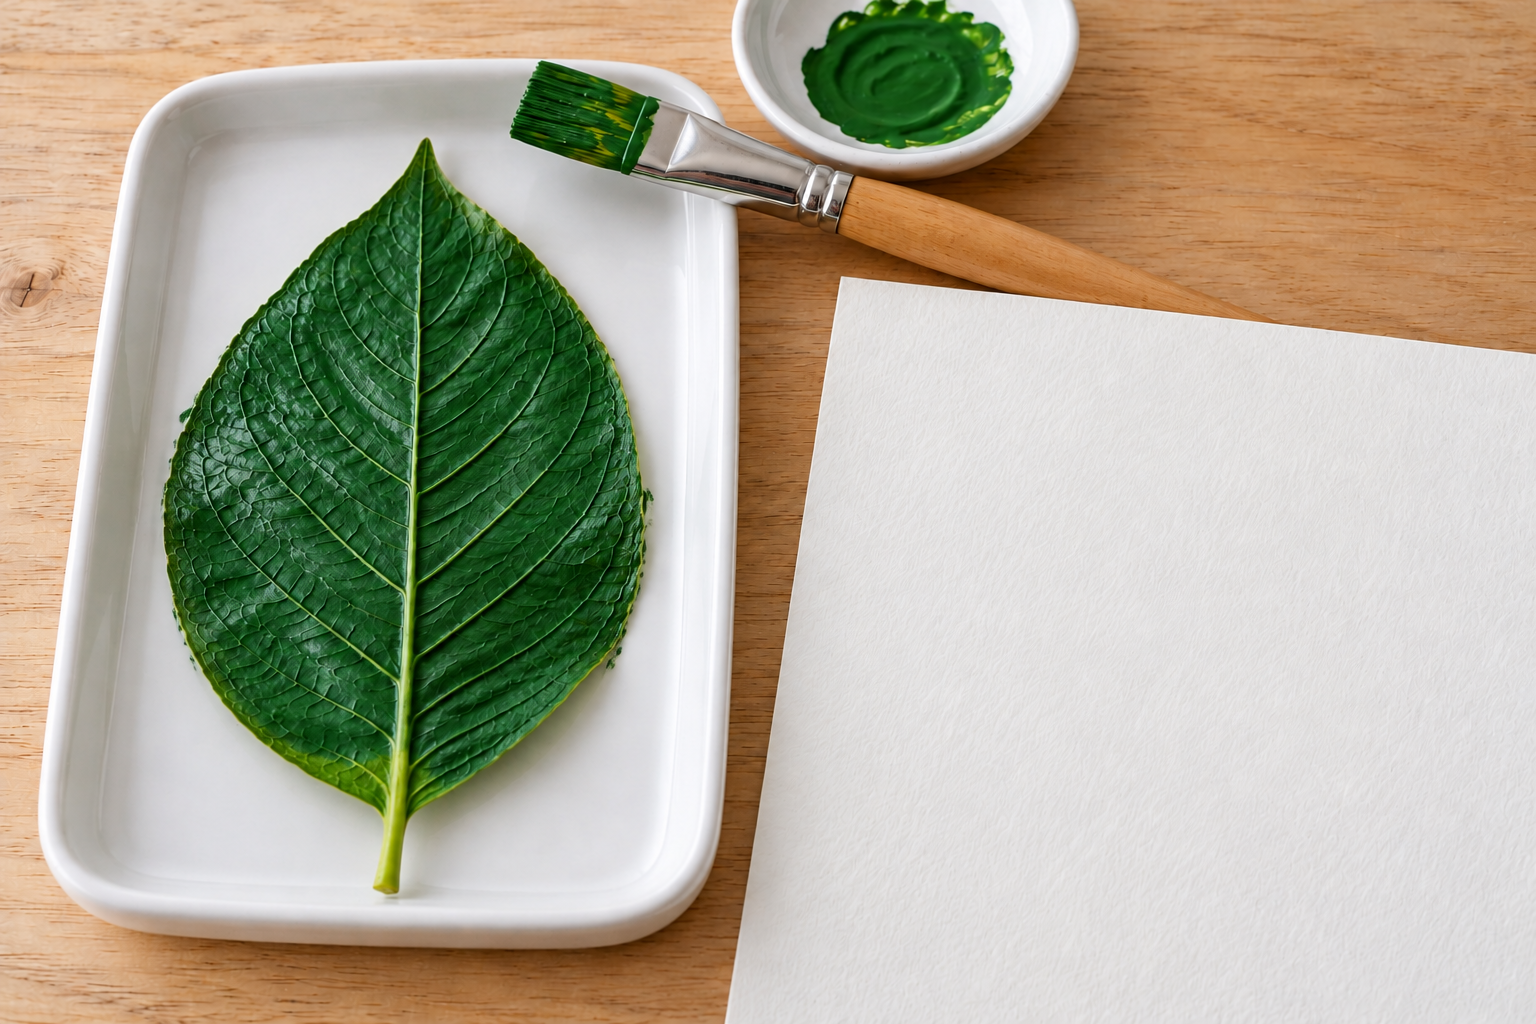
Brush a thin coat of paint onto the selected side. Aim to keep the relief recognisable without pools covering the whole surface. Place the painted side onto the trial paper, press gently to establish contact and lift it carefully without dragging it across the sheet.
The Royal Horticultural Society uses paint transfer from leaves in its leaf-printing activity. Here, the arrangement is limited to one leaf so the effects of paint and contact are easier to observe.
If the pattern becomes a solid area, reduce the paint for the next trial. If only part transfers, inspect whether the surface actually touched the paper. Change one thing first. Altering paint, pressure and water together makes the reason for a different result harder to identify.
Once the trial reads clearly, make the main print in its allocated area. Let it dry according to the material. Avoid immediately adding drawn details over it: preserve the original impression so it can be compared with the pencil rubbing.
Compare the paint print with a pencil rubbing
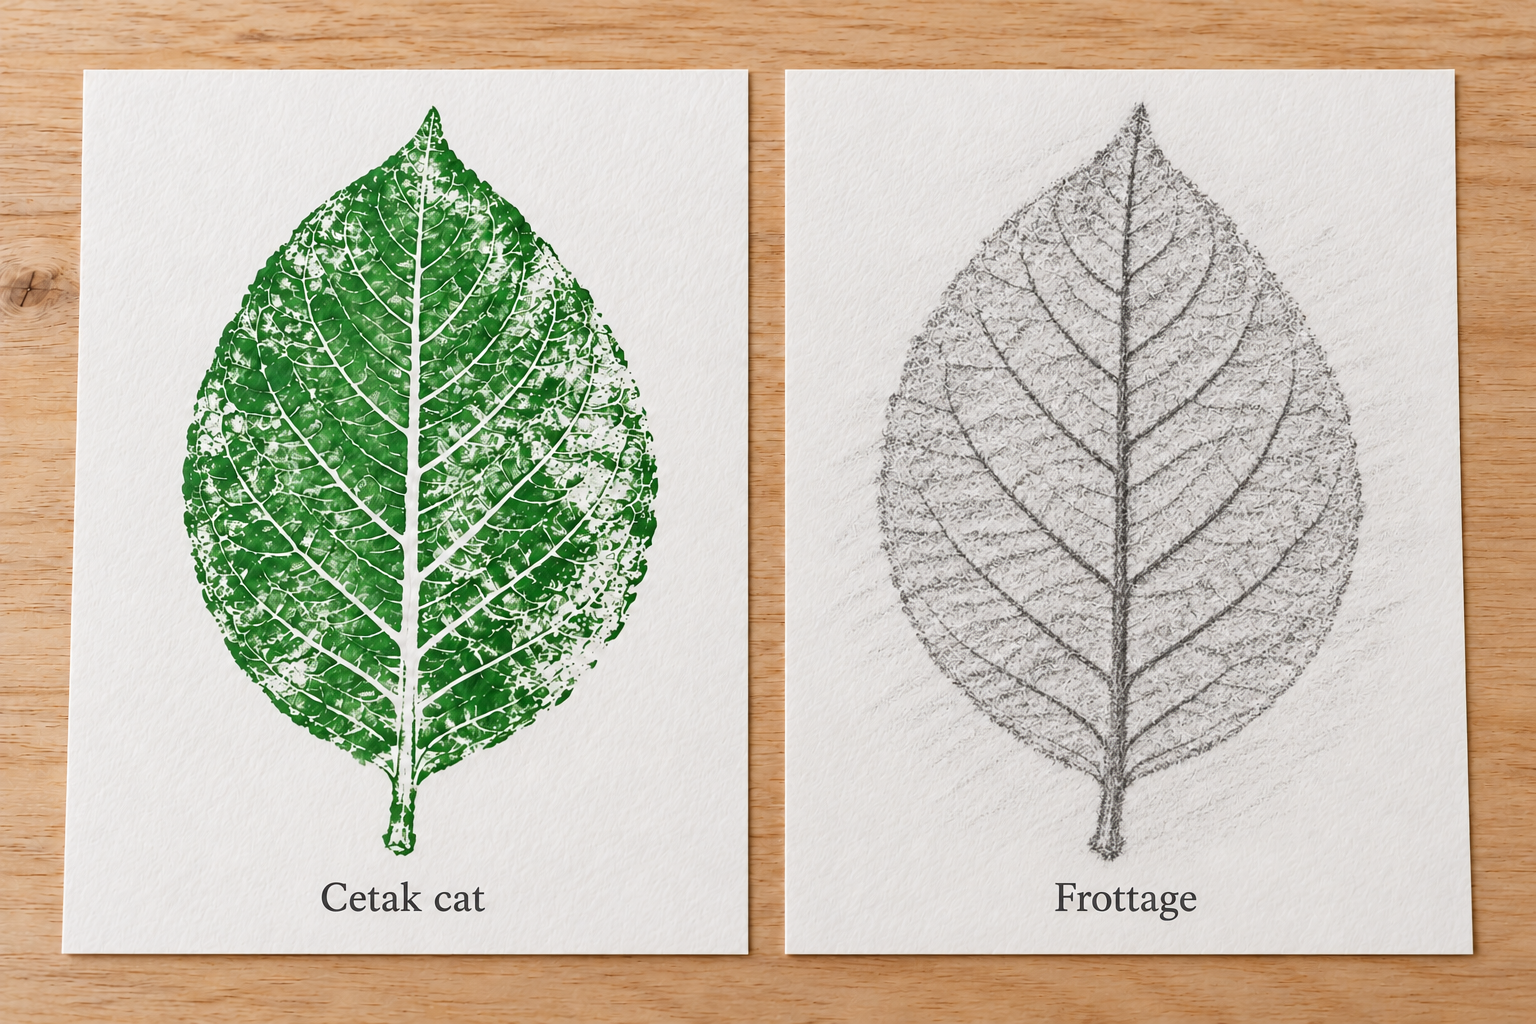
For frottage, use the same leaf after cleaning the paint appropriately and letting the surface dry, or make the rubbing before the painting stage. Place the veined side beneath paper thin enough to register the relief, and hold the arrangement so it does not slip.
Rub gently using the side of a pencil or crayon. Start with light pressure and observe which areas emerge. Do not damage the paper by pressing repeatedly in one spot to force every vein into view. Material texture and paper thickness also influence the result.
Place the two results beside each other once the painted print is dry. Compare the areas recorded as colour with those appearing as relief lines. If discussing direction, note any rotation of the sheets: printing works like a stamp, so orientation is part of the comparison too.
Separate the technique’s name from a judgement about the result. A print showing only some veins is still a paint print, while a very dark rubbing is still made through frottage. Ask which mark suits your purpose. Building a broad colour area creates a different need from emphasising fine vein lines. The comparison offers choices rather than ranking techniques from simplest to best.
Look for reasons behind different marks
Observe the main rib, outline and spaces between veins. In the painted print, identify where paint actually transferred. In the rubbing, identify where relief supported contact between the paper and drawing tool. A missing part can become a useful question rather than automatically being treated as an error.
Penn State Extension recommends a scrap-paper trial to remove excess paint that could obscure detail. A short record of your own trials makes comparison easier without relying on memory of every previous step.
| Observation | Trial question |
|---|---|
| The painted area is too solid | Is the paint coat covering the relief? |
| The print has gaps | Did the surfaces make even contact? |
| The rubbing is faint | Do paper thickness and pressure suit the relief? |
| Marks spread or appear doubled | Did the leaf or paper move? |
Repeat one change you can explain
Choose one difference for the second trial, such as reducing paint or using thinner rubbing paper. Keep the leaf and working area size consistent. Write the change below the result so another viewer can understand what is being compared.
Once the comparison is clear, arrange several impressions into a pattern if you wish. Decide whether the purpose is to emphasise silhouette, veins or repeated shape. That intention gives a clear visual reason for choosing painted printing or frottage.
For rubbings from other materials, continue with frottage using three household surfaces. Keep the leaf observations as a comparison. The lesson concerns not only the finished shape, but the relationship between surface, transfer material and the way a mark is made.