
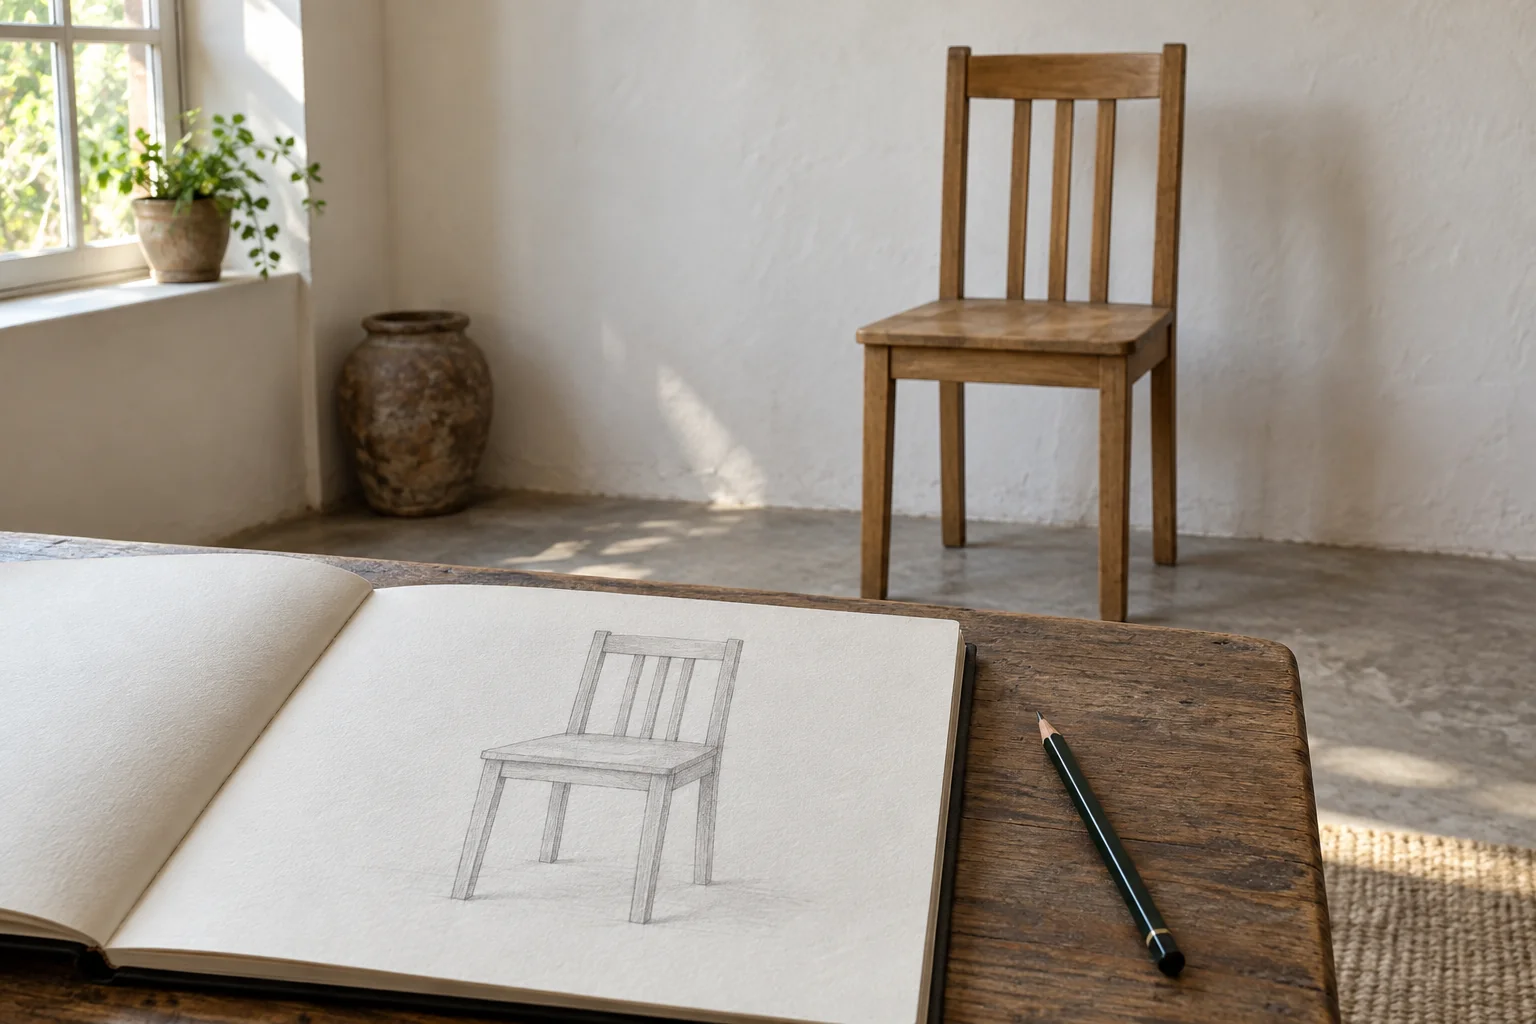
A simple chair makes an interesting drawing subject because it has solid parts and clearly comparable gaps. When drawing, we often think first of legs, a seat, and a backrest. Another approach is to observe the empty spaces between those parts first, then let their boundaries help form the chair.
This exercise uses one chair with a reasonably clear shape and a fixed viewpoint. Prepare paper and a pencil, then choose a place where you can see the subject without moving around. The result does not have to be perfect. The purpose is to understand relationships through observations you can repeat.
Choose a chair and an accessible viewpoint
Use a chair that can be placed safely on a stable surface. A backrest with a few slats and separated legs provides recognisable gaps. Remove objects covering those spaces so attention is not divided. Intricate furniture with many ornaments is unnecessary for a first attempt.
Sit or stand at one point and define the drawing area. Make sure all the parts you want to draw are visible. If only part of the chair fits the frame, establish that boundary at the start. Avoid changing sides midway, because the gap shapes change with the viewpoint.
Notice the light without analysing shadows in detail yet. A background reasonably distinct from the chair helps reveal space. The focus is on gap boundaries, so the background shapes visible between the chair’s parts become the main exercise material.
Observe the gaps before drawing the chair
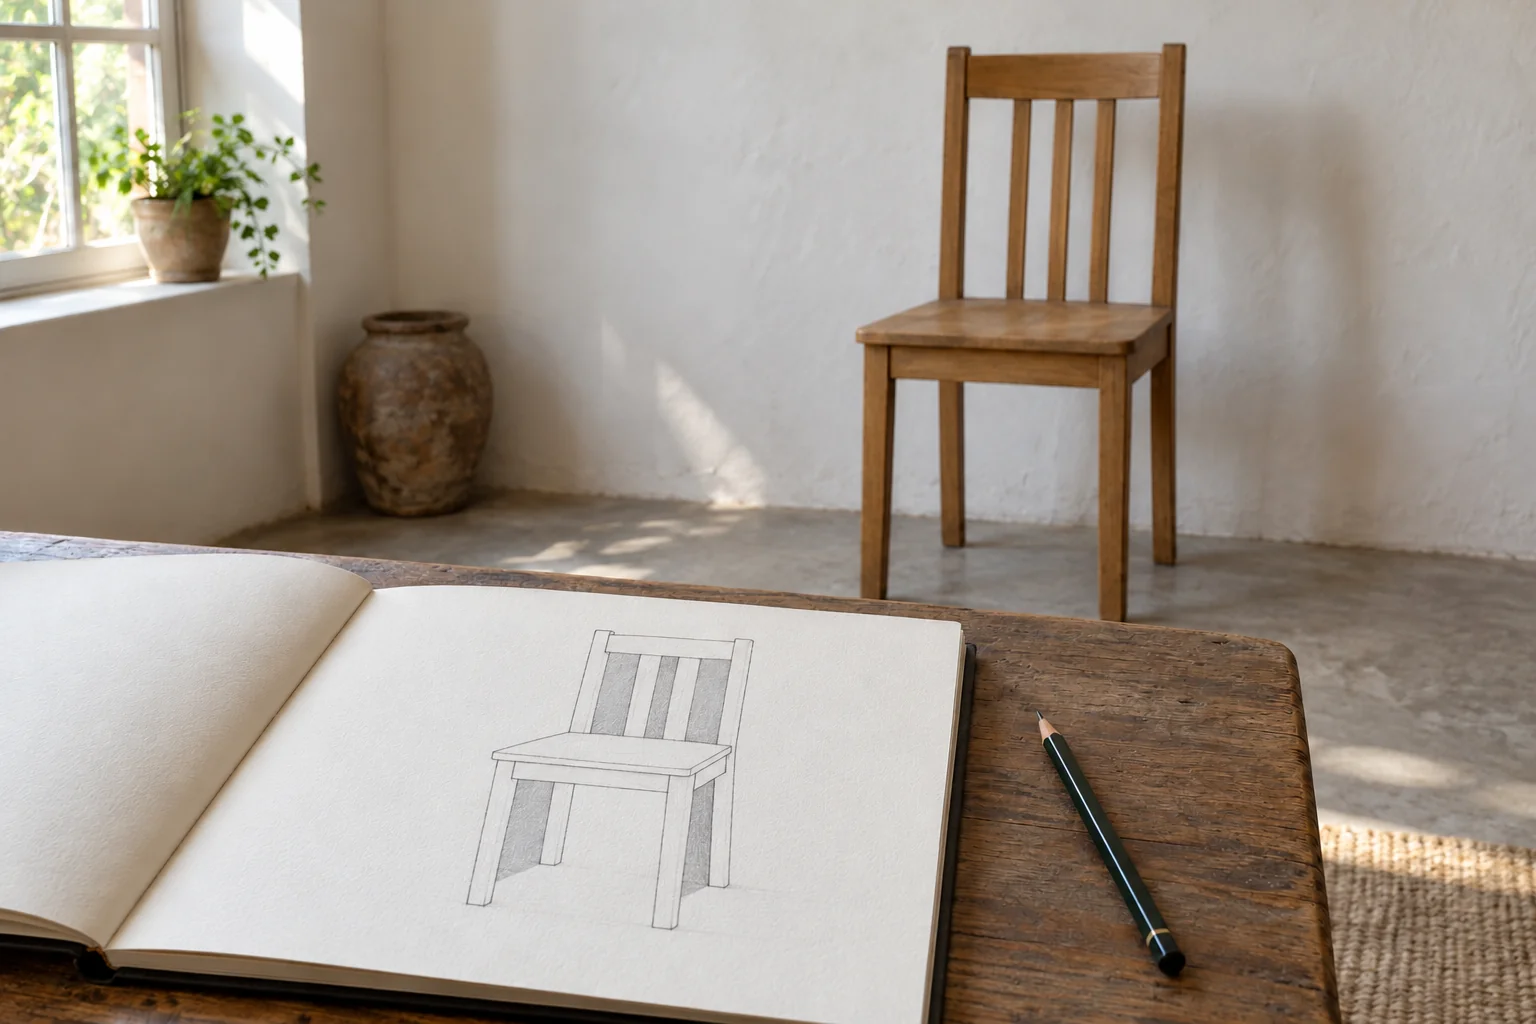
Begin with one easily recognised gap, perhaps below the seat or between backrest slats. Ask about its shape without naming the chair part: is it taller than it is wide, does its left edge slope, and where does it narrow? This moves attention from the object’s name to the visible shape.
Make light marks for corners or changes of direction. Connect them slowly with thin lines and compare them with the subject. If a gap looks like an irregular four-sided shape, preserve that irregularity. Do not force it into a neat geometric form simply because you know the chair has straight parts.
Light shading in an observation sketch can distinguish empty space from solid parts. The shading is a practice marker, not a requirement for the final drawing. Keep the pressure gentle enough to adjust the boundaries easily.
Compare neighbouring gaps
After the first gap, choose a nearby space. Compare its height, width, and endpoints with the space already drawn. Do not treat each gap as though it belongs on a separate sheet. Relationships between gaps help maintain the overall arrangement.
For example, spaces between backrest slats may appear narrower on one side because of the viewpoint. Observe that difference instead of giving all of them equal width. Around the legs, compare front and rear gaps according to what is actually visible.
When uncertain, stop drawing briefly and look at the subject again. Select one simple comparison to check. Changing every line at once makes it difficult to know which observation is being corrected.
Build the object’s edges from the spaces you observed
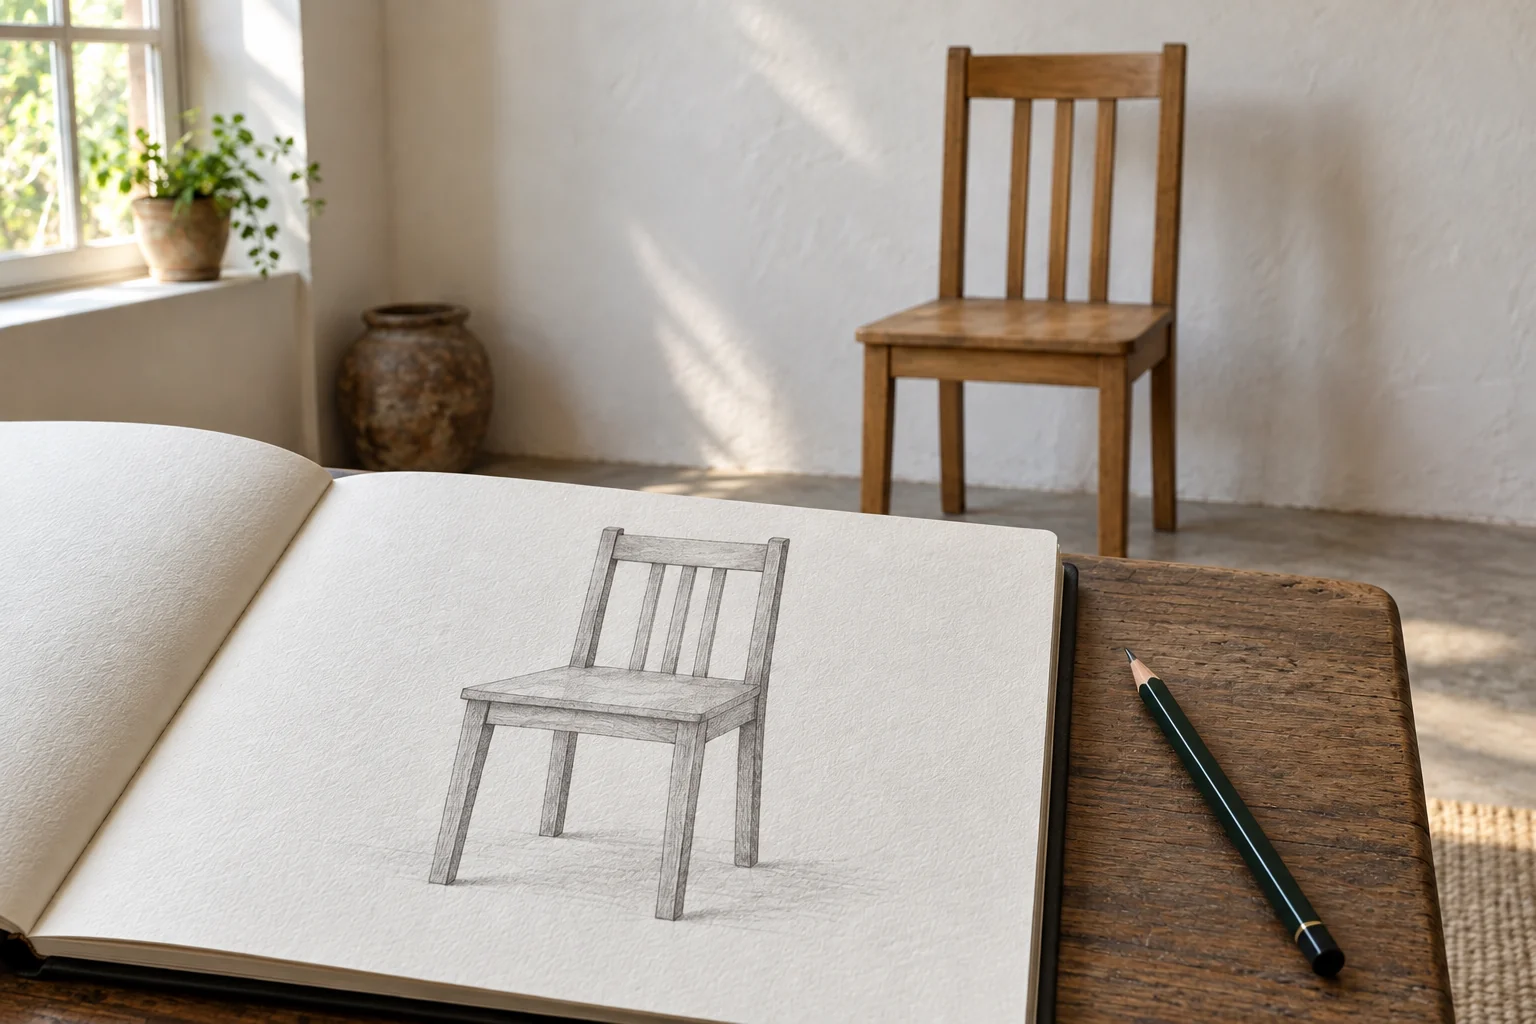
A gap boundary is also the edge of an adjacent chair part. Once the space below the seat is positioned, its edges help locate the legs and seat underside. Add object lines from that relationship instead of drawing the entire chair again from memory.
Use stronger lines only where the relationship is reasonably clear. Continue checking the width of solid parts between two gaps. If a backrest slat suddenly looks too thick, one space may need repositioning rather than simply narrowing the slat with another line.
Do not rush into wood texture, fabric, or shadows. Establish the main shape relationships first. Details can distract from the space comparisons that are the exercise’s purpose.
Check one relationship at a time
View the sketch from a comfortable distance. Choose a limited question: is the gap below the seat too tall, has a backrest space shifted, or do the legs look too close together? Compare one part with the chair before making changes.
| Area observed | Observation question |
|---|---|
| Gap below the seat | Are its height and width in proportion? |
| Backrest spaces | Do side differences follow the viewpoint? |
| Spaces between legs | Do endpoints and boundary directions match? |
| Solid parts | Does their thickness fit the adjacent gaps? |
Note one thing becoming easier to see and one that remains difficult. A short note supports the next exercise without needing to score the drawing.
Repeat with a limited change
For the next attempt, change the viewpoint or choose another equally simple chair. Change one factor first so the previous experience remains useful for comparison. The second sketch can be shorter because you already know which question to examine.
At Zumen, drawing practice can continue through other art articles. Choose exercises that encourage looking at forms differently and keep sketches as a personal observation record.
Drawing empty spaces provides an entry point when a whole object feels complicated. One carefully observed gap can help position other parts, allowing the chair to emerge from visible relationships rather than guesses about how a chair should be drawn.