
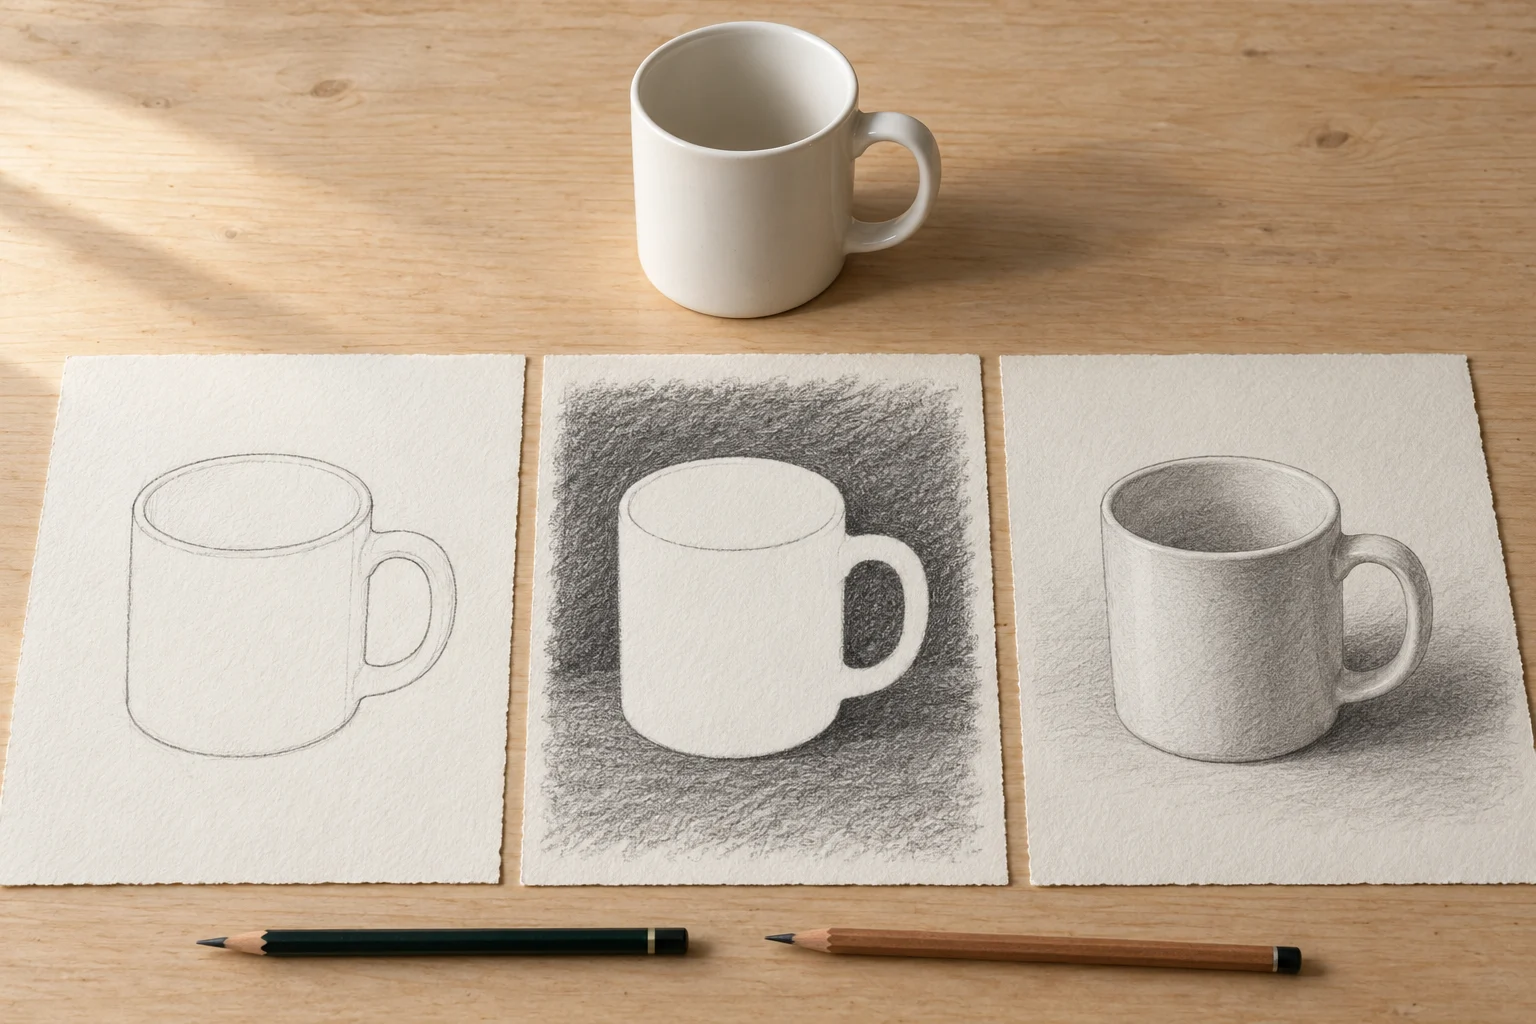
A simple object can become interesting practice material when the way we observe it changes. A cup, shoe or leaf offers enough shape to draw without preparing a complicated arrangement. This exercise invites students to try three approaches to the same object and compare the decisions they make.
Prepare the object and three drawing areas
Choose an object that is easy to observe and place it in a stable position. Prepare three small pages or divide a sheet into three areas. Use an available pencil; the exercise does not require special tools or a result that looks like a finished artwork.
Keep the object and viewpoint consistent during one round. Try another angle after completing all three drawings so comparisons remain clear. Before starting, ask the student to name two or three visible features, such as a curved edge, a projecting part or a shadow falling on the table.
First drawing: follow the outline
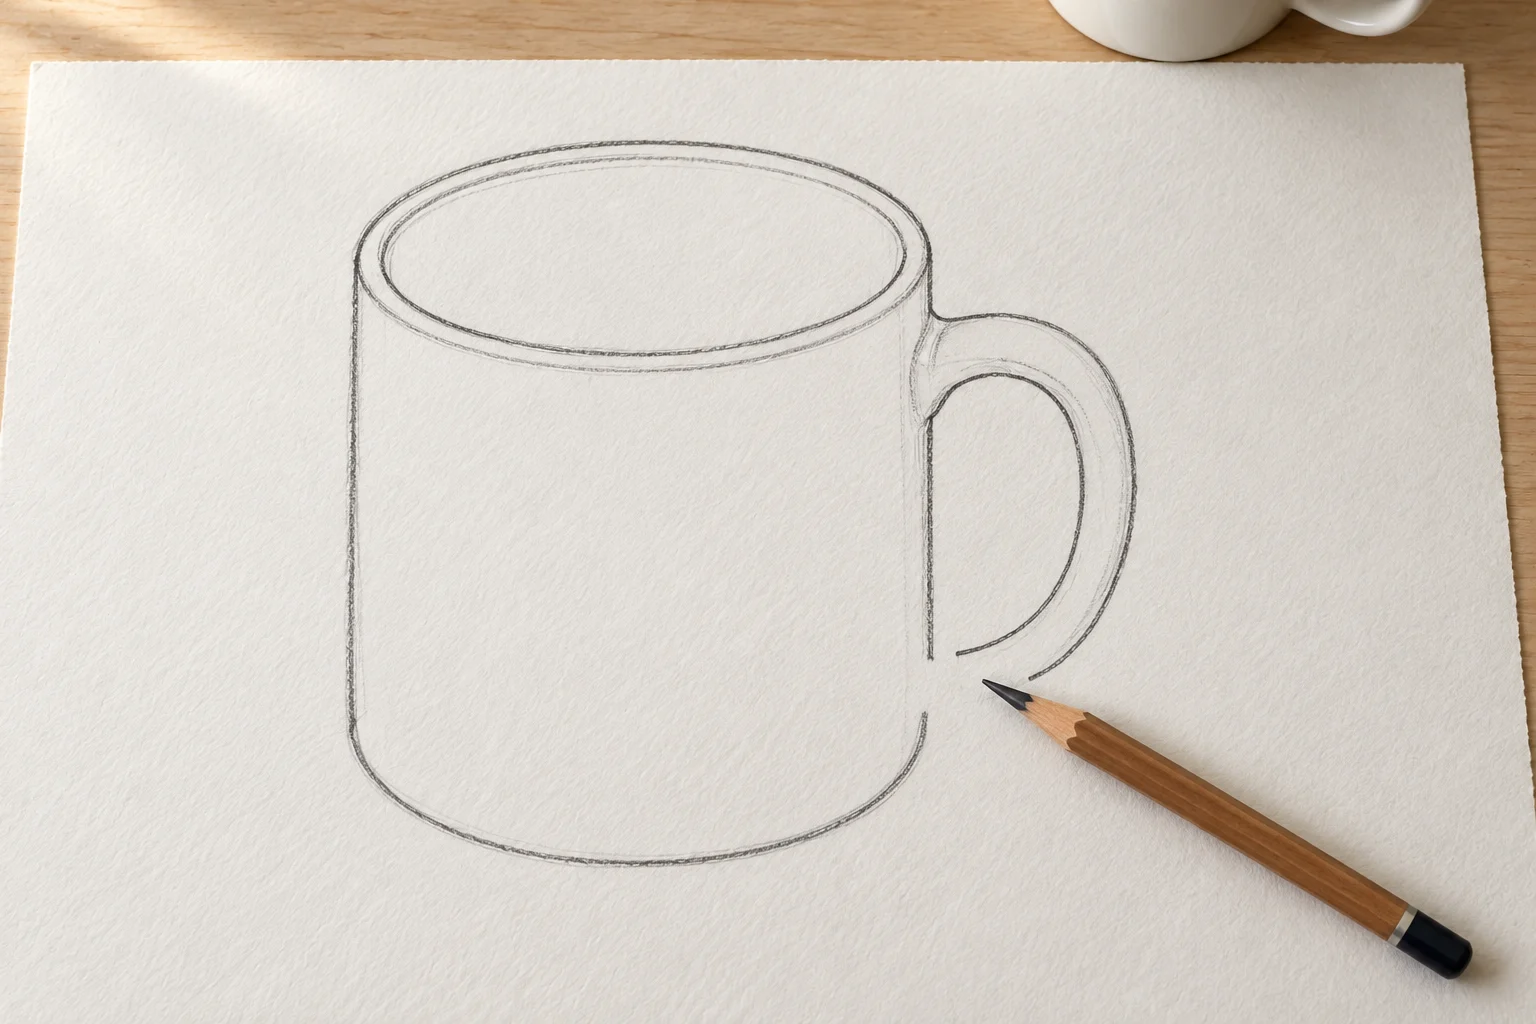
Look at the object’s outer shape. Begin at one point and follow the changes in direction along its visible outline. The student can pause to look at the object again. Small surface textures are unnecessary in this round.
Afterwards, ask which part needed the most repeated observation. This provides a more useful discussion than immediately calling a drawing good or bad. Record one decision to try again, such as making a curve wider or leaving more space on the page.
Second drawing: observe the surrounding space
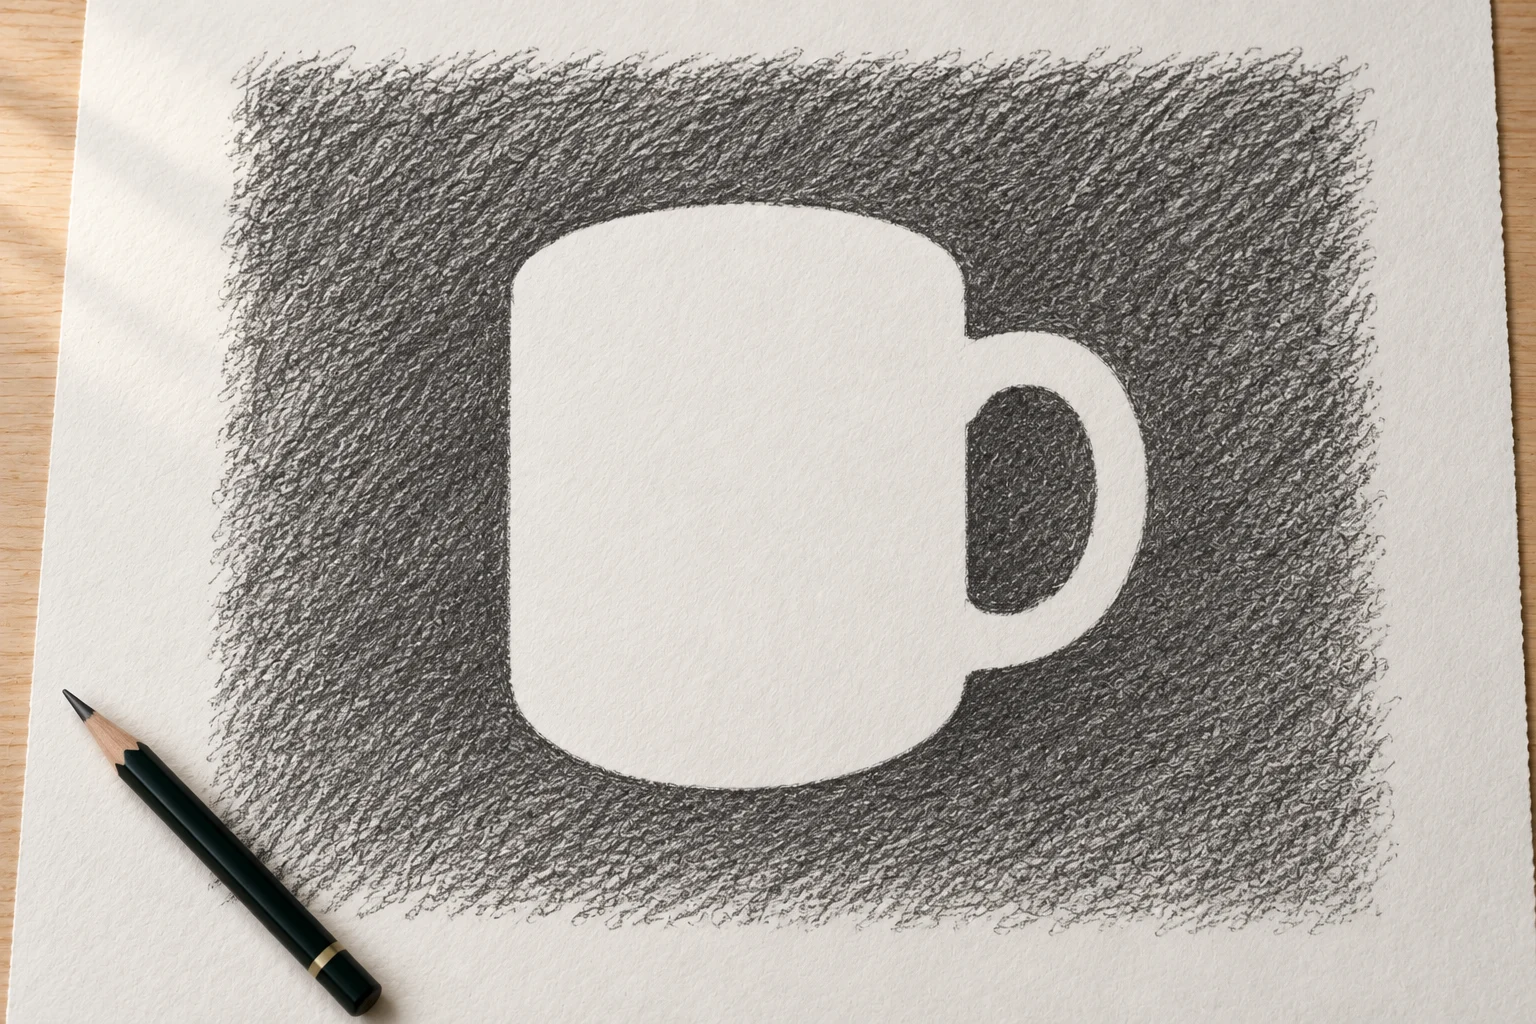
In the next area, look at the empty spaces around the shape. A cup with a handle, for example, has an opening that can be observed as a shape in its own right. Students can begin with that opening or the distance between the object and the drawing area’s edge.
This offers a different task without replacing the object. If it feels difficult, point to one small, clearly visible space and use it as a starting point. A mentor can ask about the shapes the student sees while allowing them to make their own marks.
Third drawing: separate light and dark
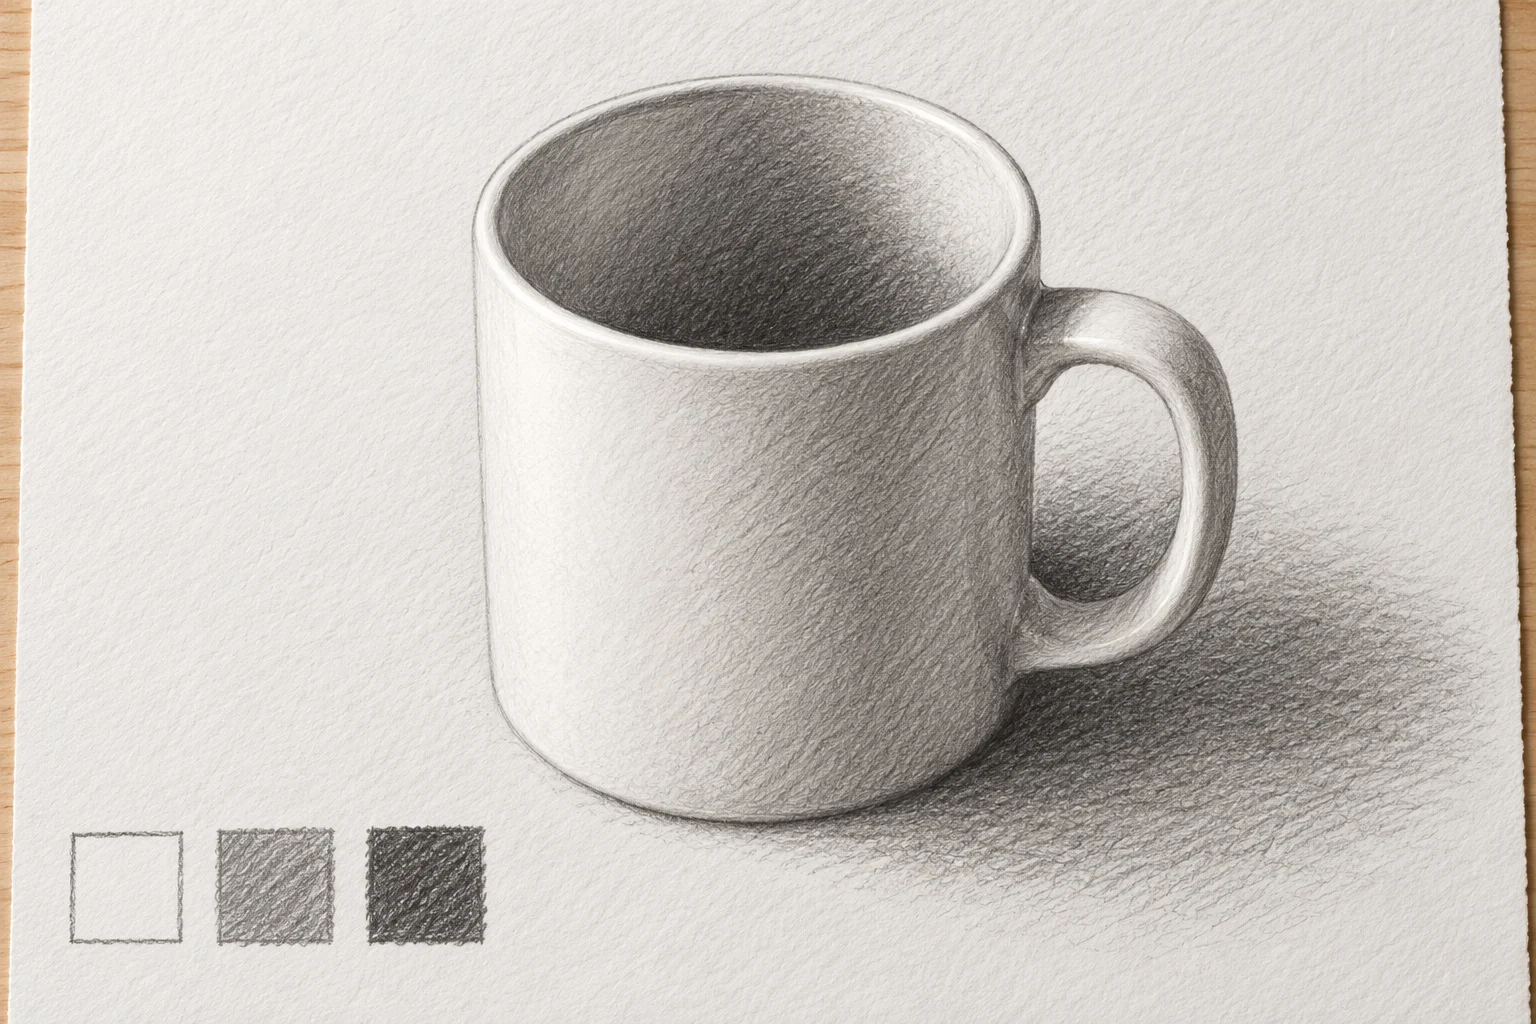
Observe where the light is coming from. Select a few areas that appear light and a few that appear dark, then add simple shading to the darker areas. There is no need to reproduce every gradient or create a perfect shadow.
Compare this drawing with the previous two. Does the shape feel different after shading? Which part is now easiest to recognize? If the light changes during the exercise, record the change rather than treating it as a mistake.
Try the exercise with a cup
In an example session, a student chooses an empty cup on a table. For the first drawing, they follow its outside edge and notice that the handle requires repeated observation. For the second, they draw the space inside the handle as a separate shape. For the third, they choose one darker side to shade. The three pages show different decisions about the same object.
A mentor can ask the student to identify the part they find easiest to explain. The handle opening might become clearer when treated as empty space, or the shaded side might help show the cup’s direction. Listen to their explanation without requiring them to prefer a particular approach. The discussion aims to establish what they observed and which choice they want to try again.
If the shape feels difficult, limit the task to a clearly visible part. A curve or a small opening is enough for one attempt. Other parts can be developed in a later round. Reducing the task keeps the activity manageable without promising the same outcome or learning speed for every student.
Use comparison to begin the next exercise
Place the three drawings together and ask the student to choose one question. For example, how does the shape change when viewed slightly from above? Retain the question and use the new angle for another round when the student is ready. A changed angle is an exercise choice, so the earlier record still offers a useful comparison.
Avoid ending only with a judgment of the final picture. Describe visible observations, such as trying a line direction again or leaving more space on the page. Students may write one sentence or point to a part of the drawing if they do not want a long note. The sketchbook then retains a process they can discuss again with their mentor.
Finish with a short note
Write down the object, date and approach that would be most interesting to revisit. The three drawings need not share the same style. A sketchbook can hold experiments, corrections and questions to discuss at the next session.
For a beginner, a mentor can simplify the exercise to two approaches first. Duration and difficulty should suit the student’s readiness. Explore Zumenart drawing and painting classes to discuss suitable observation practice, and find more ideas in the Zumenart blog.