
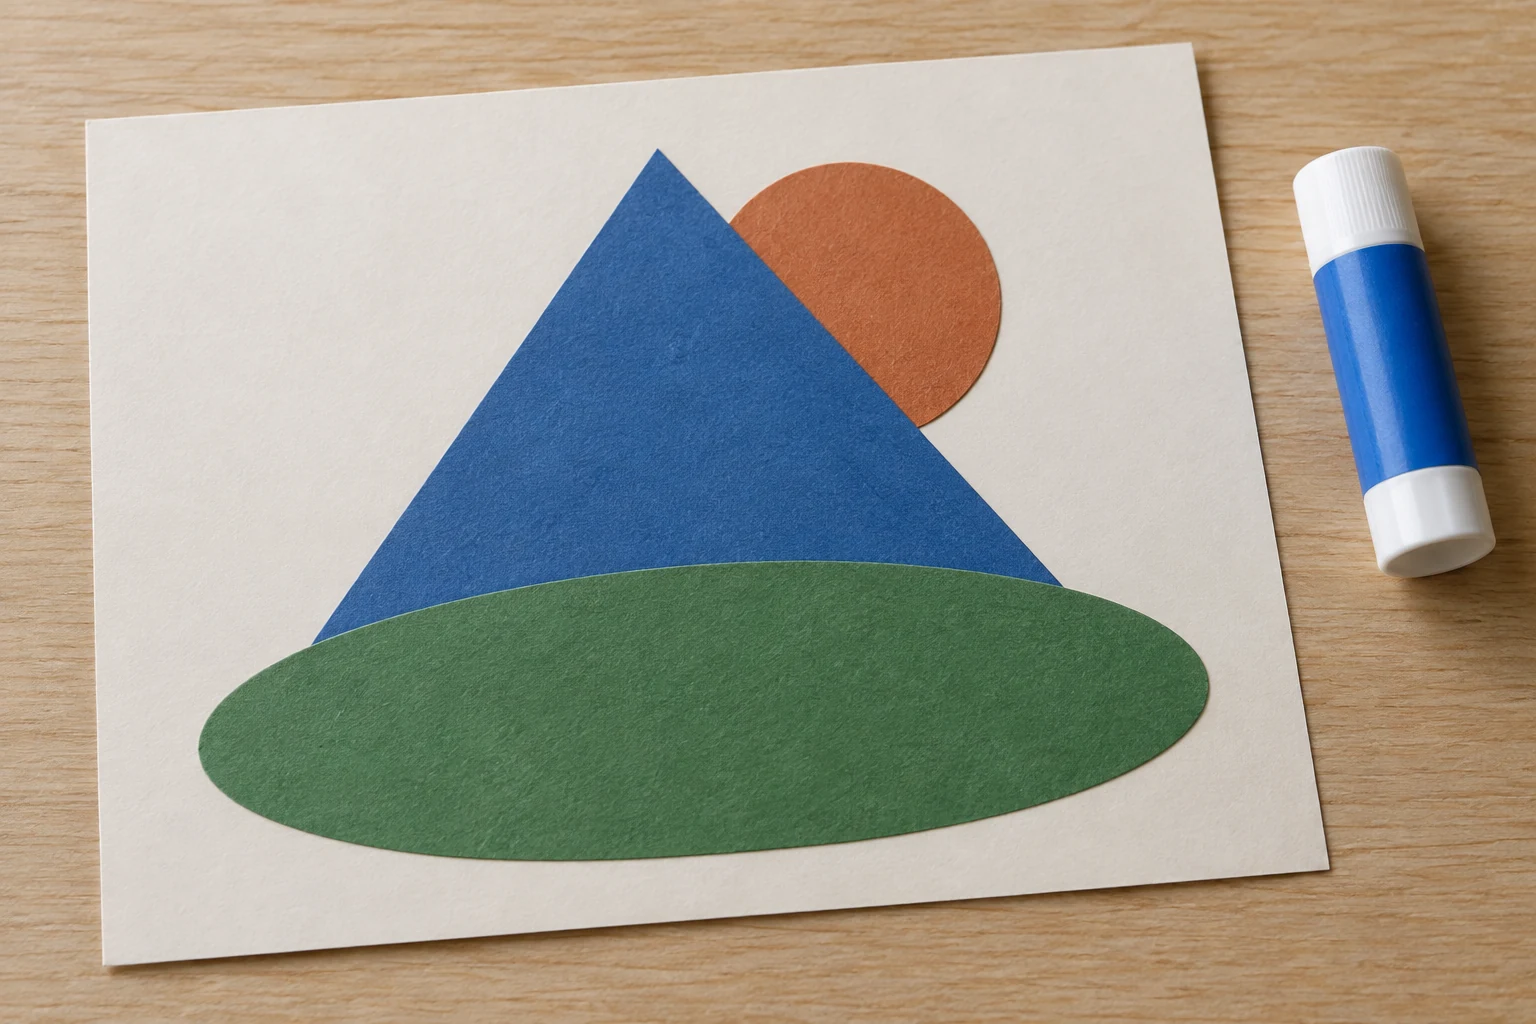
Three paper cut-outs can look like separate shapes or parts of a scene with a front and a back. The difference does not always require extra detail. Changing positions and layering already gives the eye new information.
This exercise uses a triangle, circle, and oval to explore overlap. Students observe visible and hidden parts, then explain their arrangement. Results need not exactly match the example; it demonstrates relationships to try in their own work.
Prepare three shapes before gluing
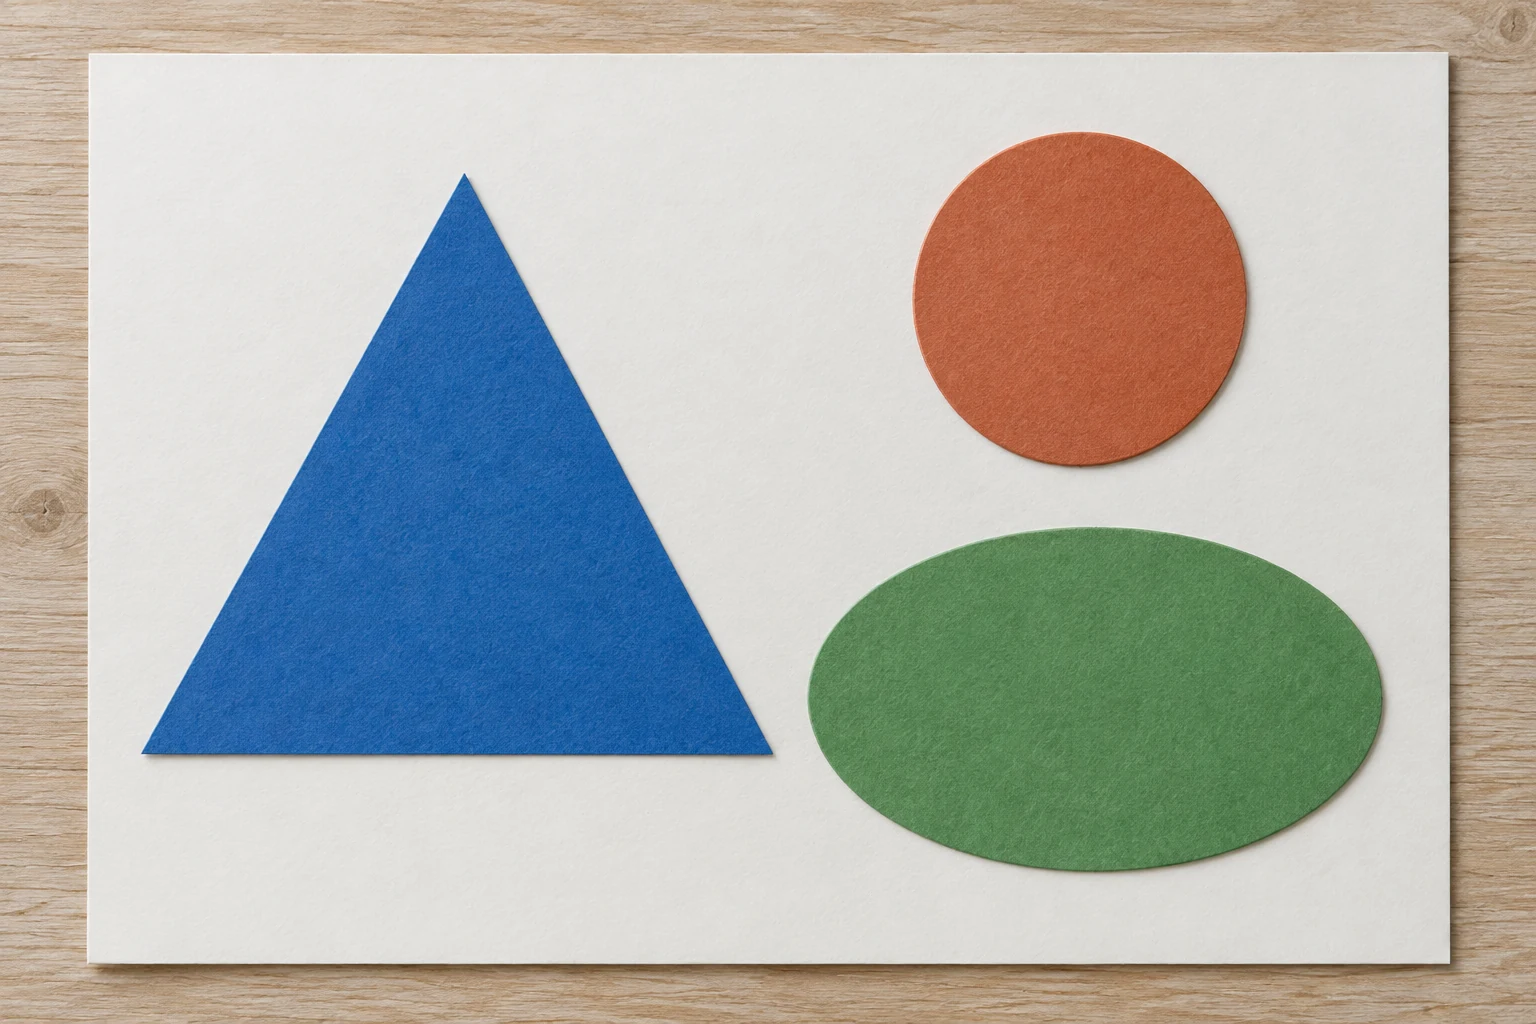
Prepare a base sheet and three differently coloured cut-outs. The example uses a blue triangle, terracotta circle, and green oval. Different colours help track the same object when part of its shape becomes hidden.
Provide prepared shapes according to the student’s readiness. If help with tools is needed, a companion can supply the cut-outs beforehand. The exercise focuses on positioning and reading layers, so cutting is not a requirement for starting.
Place everything separately on the base sheet. Ask students to name the shapes and compare sizes. Let them hold and move pieces without glue. This initial arrangement provides a comparison when overlap begins.
Try positions without changing shapes
Move one shape closer to another, then separate them again. Observe what changes when edges touch or one covers part of another. Keep the same three pieces so attention stays on arrangement rather than introducing new objects.
Ask, “Which shape looks closest to the front?” Students can point to an intact edge and an edge that stops where it is hidden. Their explanation follows parts actually visible in the arrangement.
If every shape sits far apart, ask whether viewers can still identify front-to-back order. There is no need to call that arrangement wrong. It gives different information from overlapping shapes, and the difference becomes useful material for experimentation.
Arrange the front-to-back order
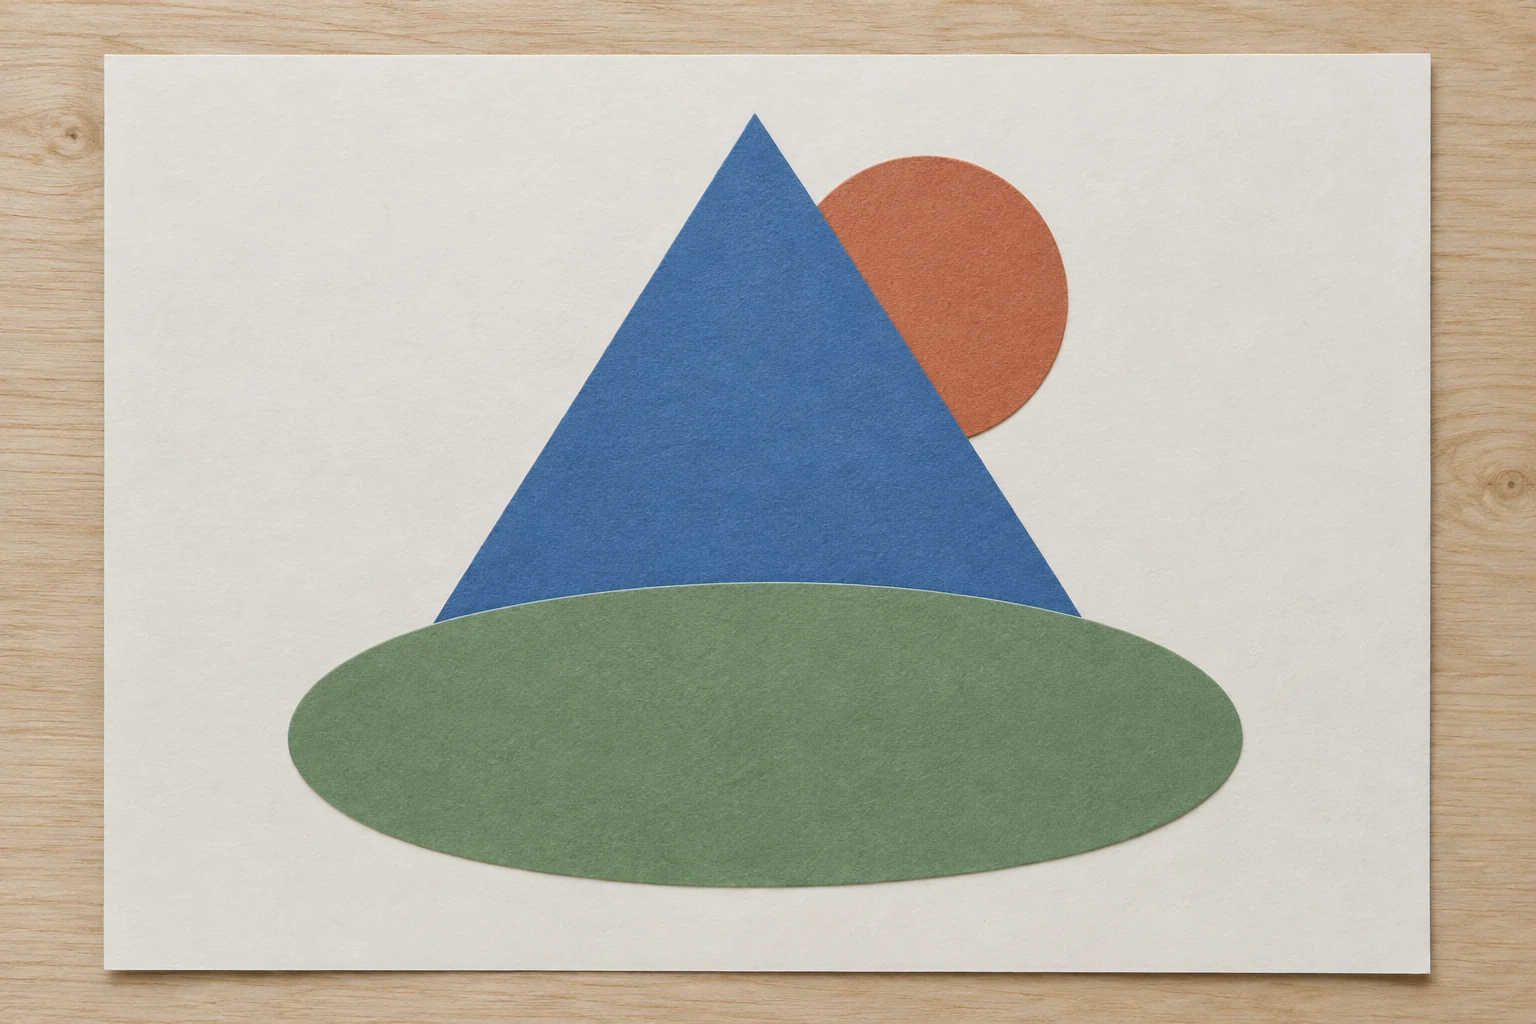
Place the circle first, then let the triangle cover part of it. Put the oval in front of the triangle’s lower section. Interrupted edges suggest an order even though the shapes remain simple and have no additional detail.
Describe the order concretely: the circle is behind the triangle and the oval is in front. Avoid only saying “nice” or “tidy”. Position descriptions help students understand decisions that make the arrangement readable.
Avoid hiding a shape completely when the current purpose is comparing all three. Leave a recognisable part visible. Students can try greater coverage and discuss when viewers begin struggling to identify the object behind.
Change one relationship for comparison
Before gluing, move the circle in front of the triangle. Observe how the relationship changes while its colour remains the same. Restore the arrangement or choose the new one. This demonstrates that layering is a separate decision.
Change one thing at a time when comparing. If position, size, colour, and shape count all change together, students may struggle to explain the difference. Keeping some elements fixed makes the front-and-back discussion clearer.
To retain comparisons, photograph two arrangements from the same direction. Put the sheet in a similar position. Photographs help remember choices rather than require students to produce a collage identical to an example image.
Glue after choosing the order
Ask which shape needs attaching first to preserve the plan. In the example, the circle is the first layer, followed by the triangle and oval. Discuss this before moving the first piece from the base sheet.
Use glue appropriate to the material and activity, with a companion’s help where needed. Lightly mark positions if useful and follow glue instructions. There is no need to meet a fixed time or use excessive glue to declare the piece finished quickly.
Once attached, check that intended parts remain visible. If positions shifted, use that as an observation. Ask which relationships remain readable and what to try next, without forcing every layer to be dismantled.
Invite someone else to read the arrangement
Show the collage without explaining its order first. Ask the viewer to point to the shape appearing in front. If their answer differs, examine the edges together. The conversation concerns how the work is read rather than seeking a single assessment score.
Record one decision to retain and another to try again. After understanding this simple example, students can use other shapes in their next exercise. Additional details follow the scene or story they want to make.
Connect this with observing one object or art practice at home. Bring two different arrangements to a Zumenart mentor so the discussion starts from students’ own visual choices.